
Texas Flying Legend’s Museum
by Chuck Cravens
Update
They say if it doesn’t have guns, it isn’t a fighter. We all know that the nebulous “they” are never wrong, so Texas Flying Legends decided that guns were a definitely desirable addition to the fuselage in this repair and renovation of their Zero.
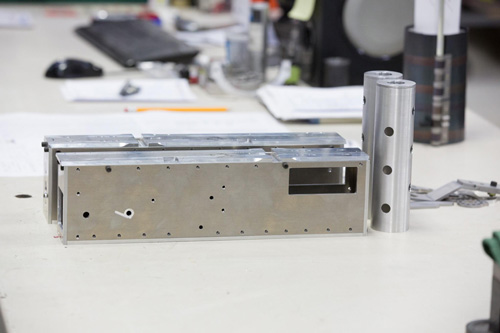
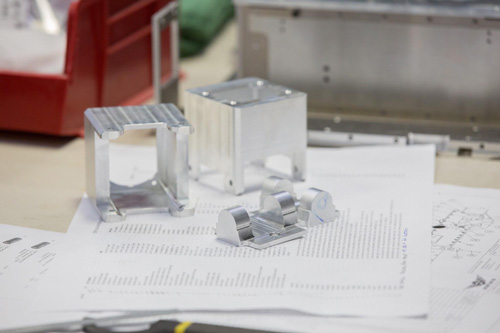
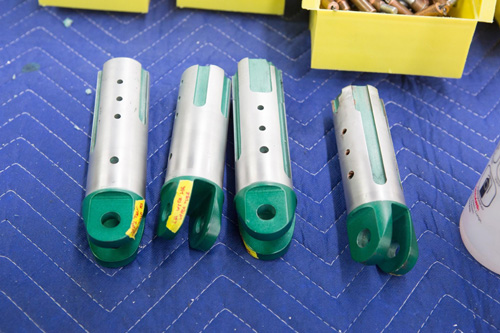
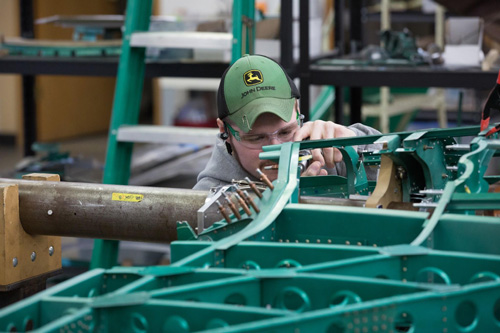
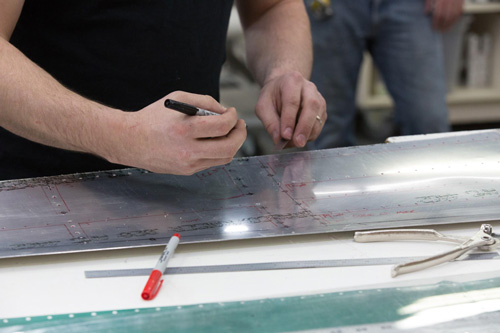
The Model 21 mounted two of the Type 97 aircraft machine guns in the top of the fuselage, just in front of the pilot, with the receivers and all but a little of the muzzle end of the guns faired over. Slots in the cowl ran forward for bullet clearance. This Japanese designation signified a licence-built version of the Vickers E model machine gun. There was a type 97 light machine gun used by the ground troops, but that was a completely different machine gun.
Naturally, since the FAA (not to mention the Bureau of Alcohol, Tobacco and Firearms) distinctly prefers that one doesn’t fly with functioning machine guns, these are inoperative replicas.
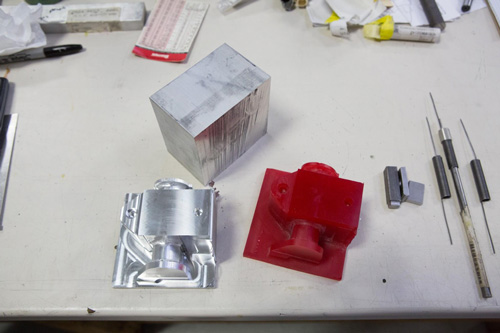
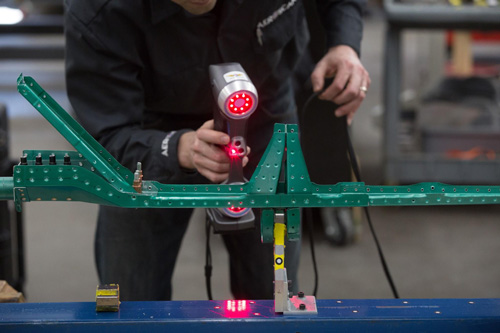
Scanning
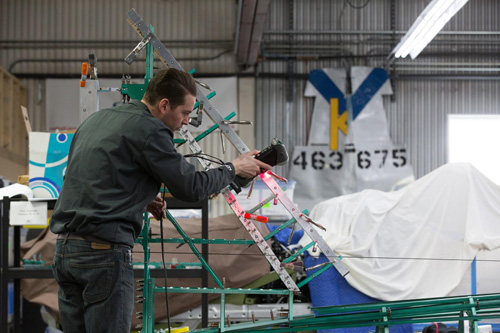
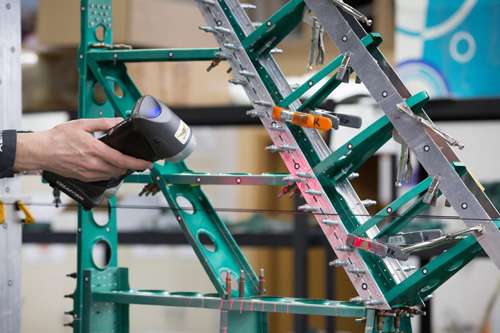

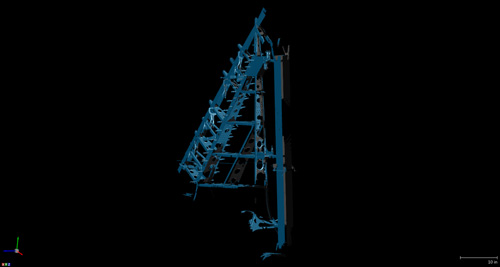
The scanned model is not in a format that allows for editing or modifications to its properties. It is but the first step in the reverse engineering process. Without software to clean, repair, and produce usable reference points that can be exported from the scan, it has little value. This next step of cleaning, repairing and generating reference is referred to as post-processing. This step is critical and not all scanners provide the software in order to perform this task.
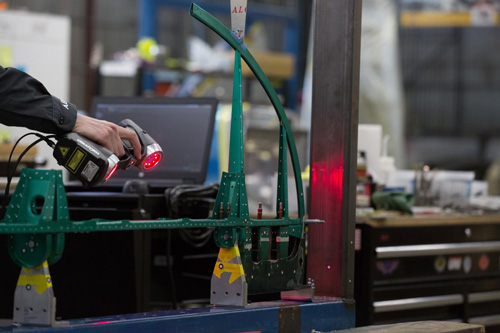
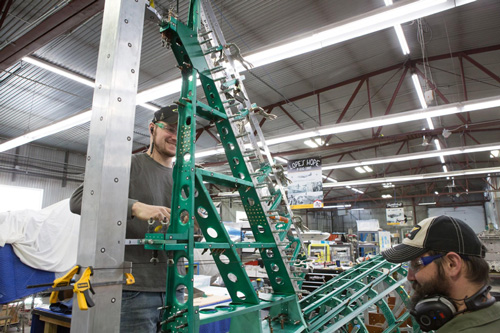
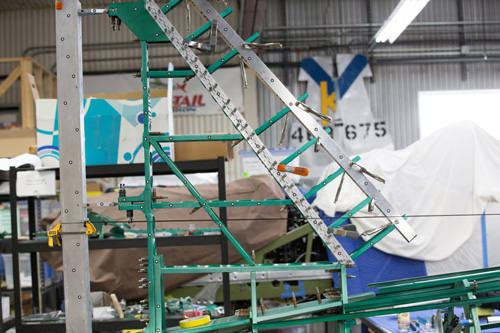
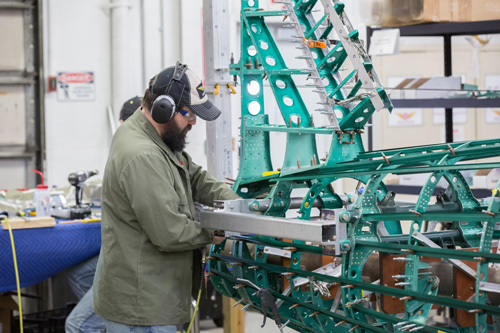
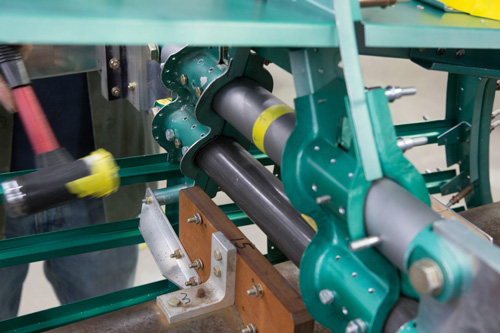
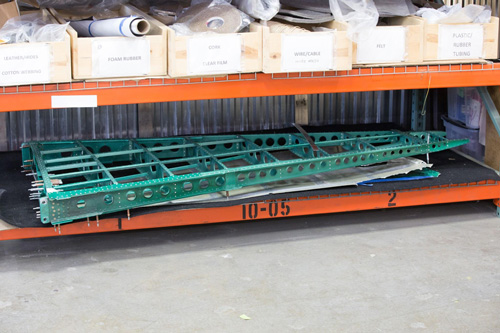
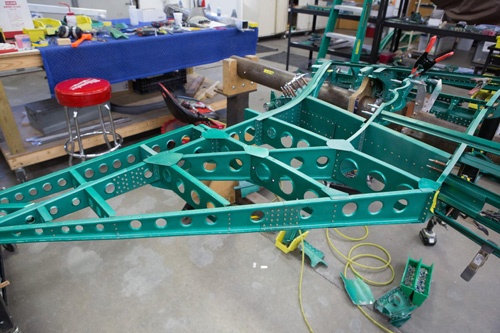
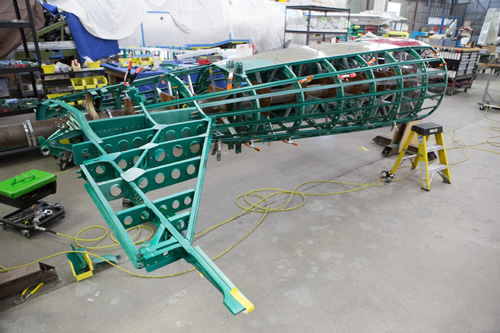
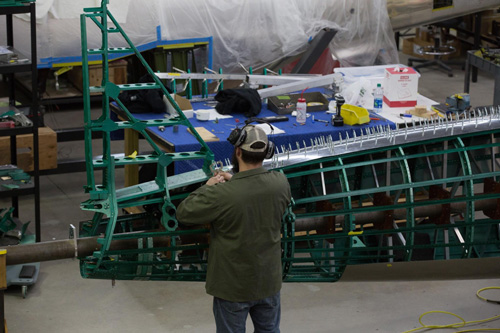
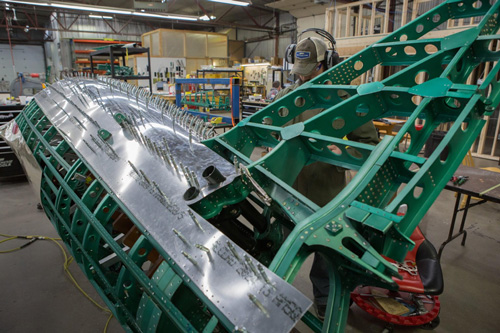
Framework & Empennage
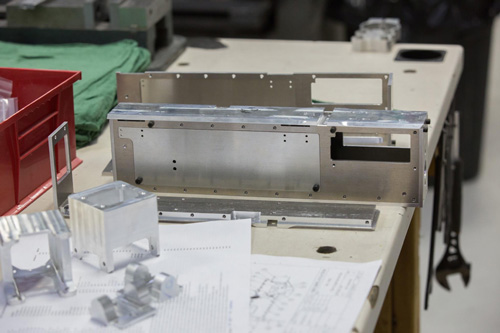
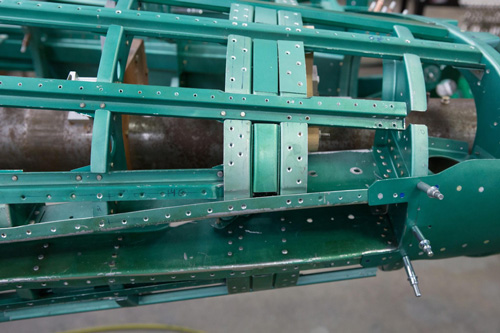
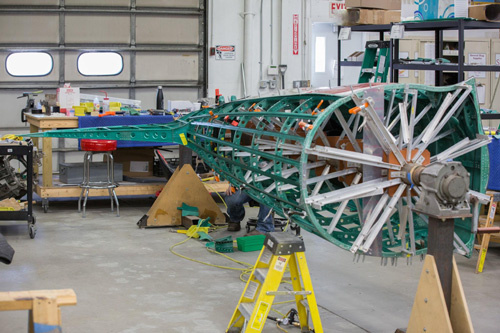
The rear fuselage framework and the vertical and horizontal stabilizers are nearing completion.


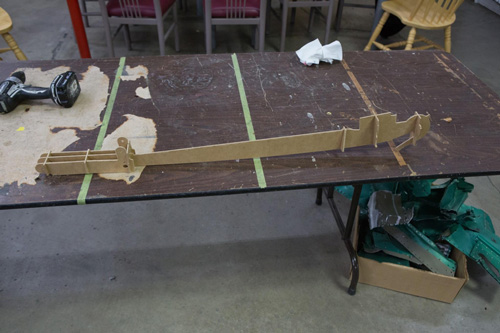
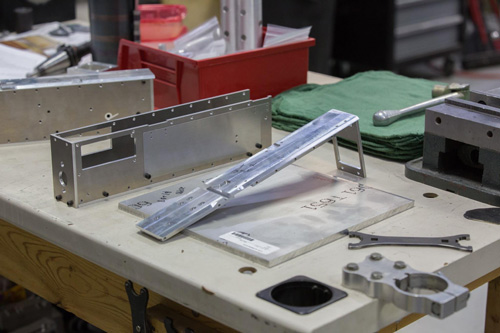
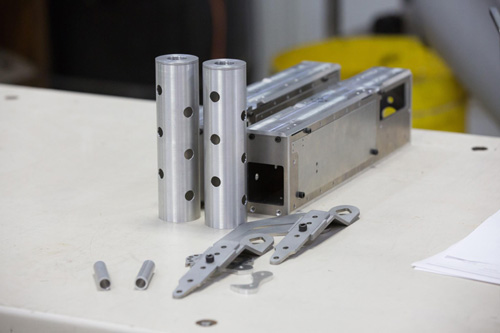
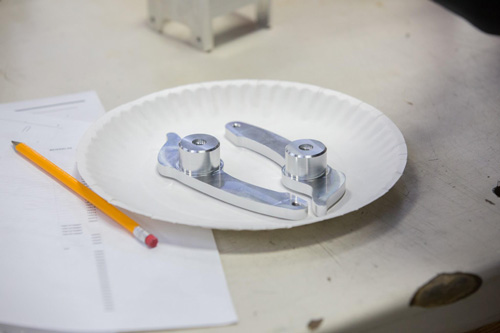
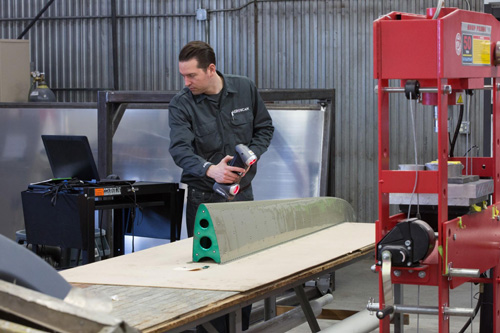
It is an inexpensive way to use two dimensional materials to represent the three dimensional tailhook for the purpose of fitting and testing operational clearances before machining the tail hook. The tail hook is an addition to the historical fidelity of the Zero added during this repair process.
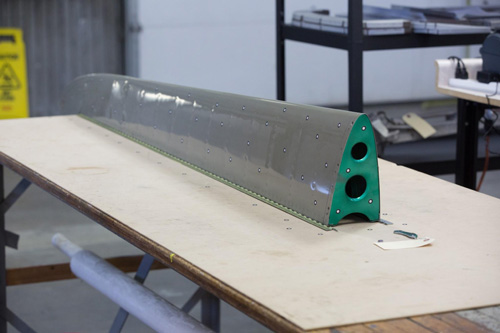
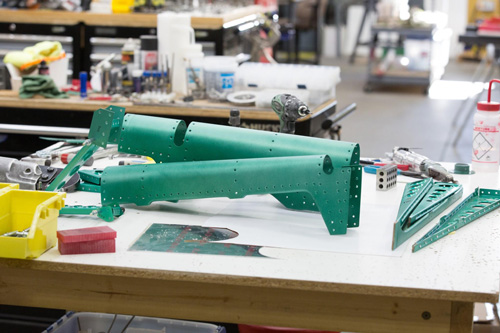
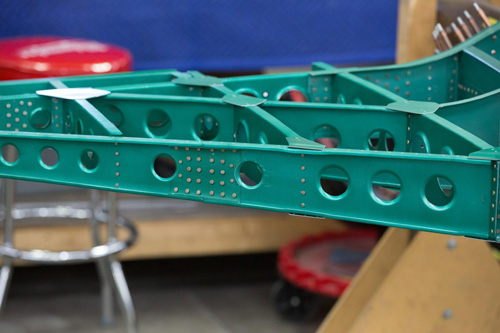
Skin Fabrication

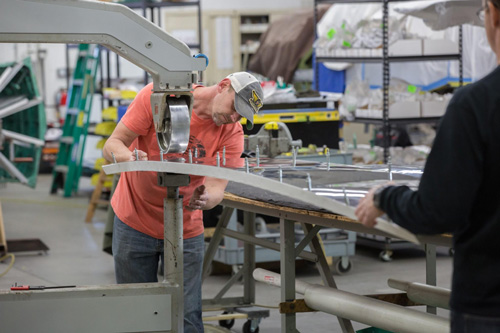
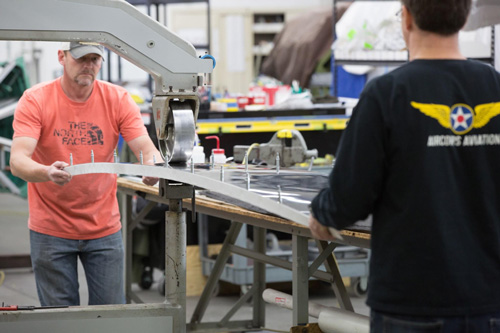
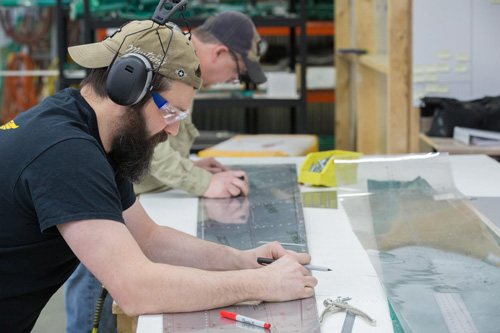
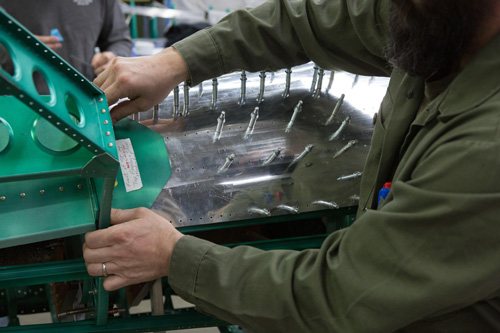
Skin Fitting & Trial Installation
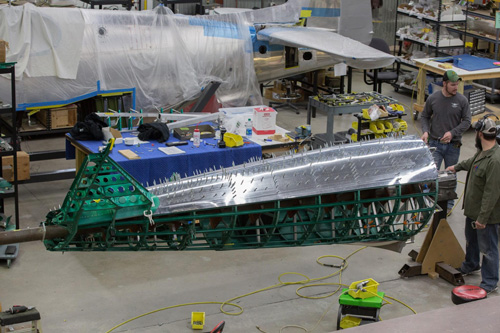
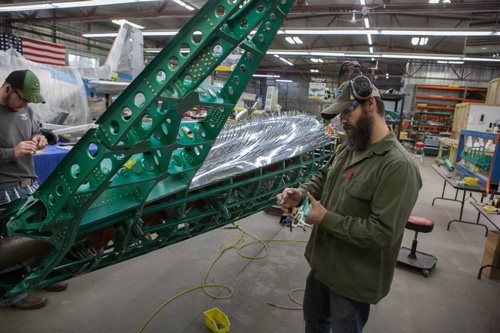
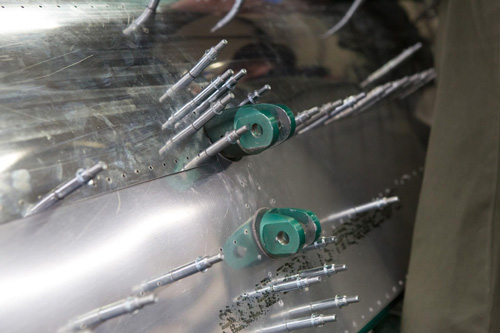
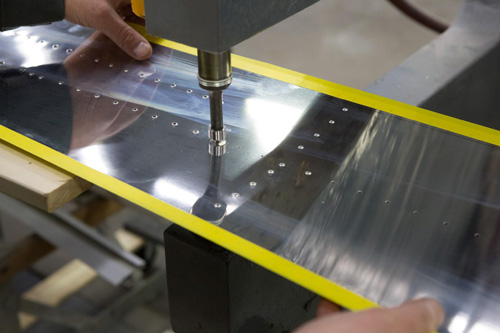
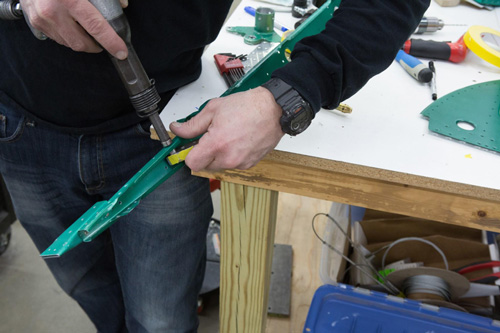
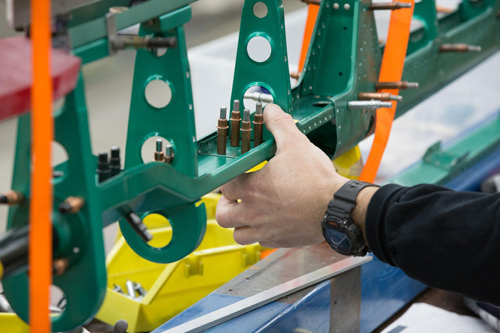
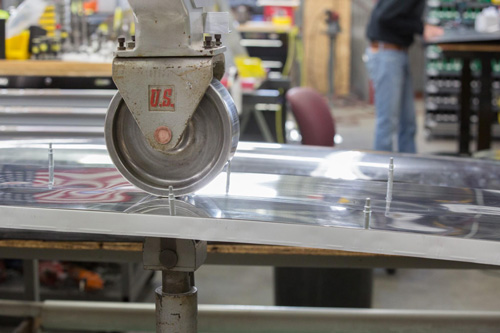
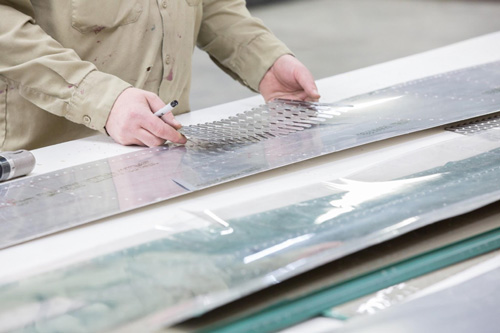
That’s because the next step is to countersink the rivet holes. To do this on the very thin, light .020 skin panels of the Zero, the countersinks are formed by pressing in dimples rather than cutting material to a specified angle with a countersink bit. Then the protective paint will be applied to the inner side of the skins. The first Mitsubishi airplane to have flush riveting was the prototype 9 fighter that developed into the type 96 or A5M. This fighter was designed by the A6M’s designer, Jiro Horikoshi, and is the immediate ancestor of the Zero. The allies code named it “Claude”. When the flush riveting was done on the prototype 9, it was such a new innovation that the skill needed to create a smooth finished product was yet to be developed and the prototype 9 looked “quilted”. Body putty was used to smooth out its appearance for the Navy review board. By the time the A6M-2bs were manufactured, the flush riveting skills had progressed and produced a much more satisfactory result.
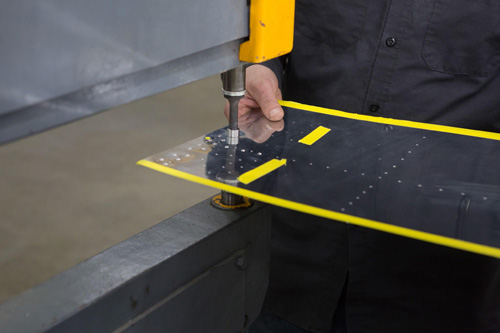
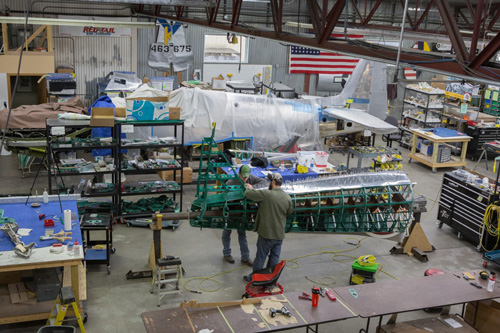
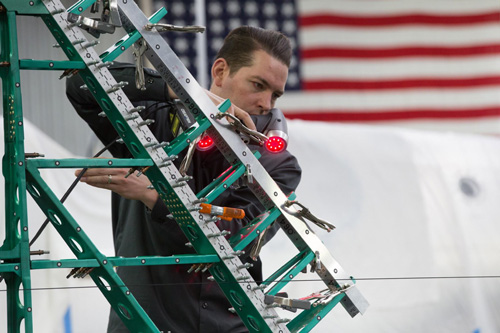
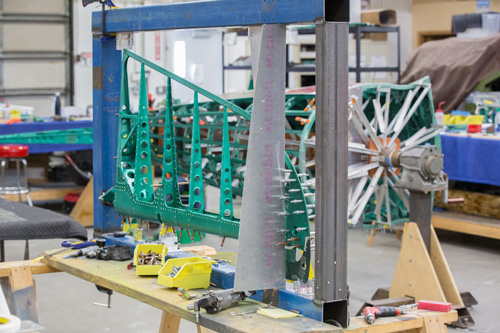
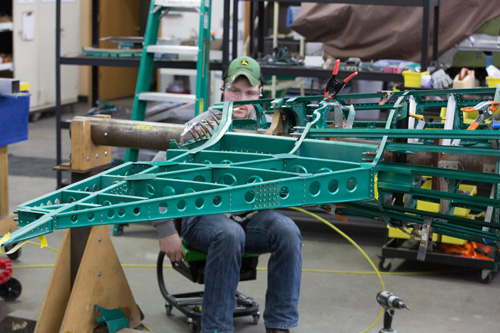
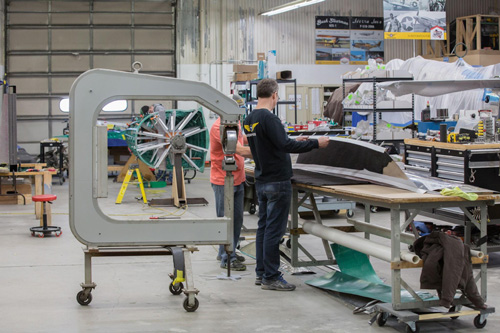
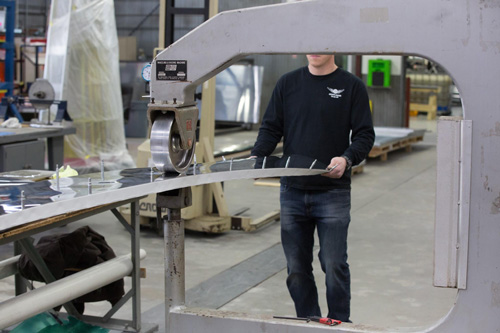
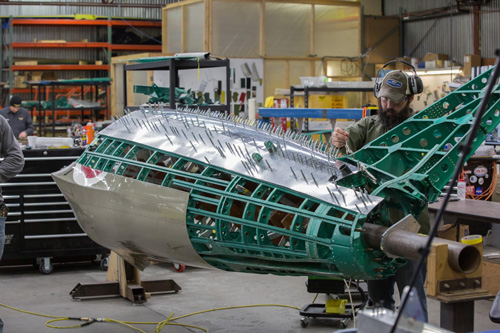
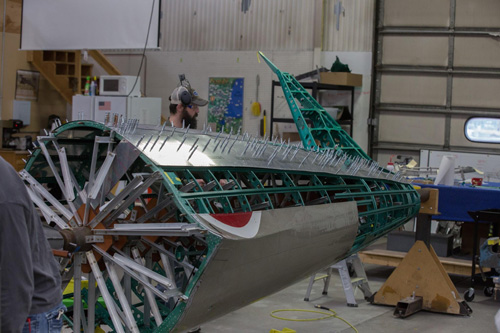
Every hole needs to be carefully dimpled. The A6M-2 tail section on its tubular fixture.
Behind it is the P-51C, Lope’s Hope 3rd. The original Lope’s Hope 3rd flew with the 75th Fighter Squadron in China. They never encountered actual A6M Zero fighters. However, their log book and combat report entries frequently listed the Oscar fighters they fought against as Zeros because of the similarities in appearance.
Can you do this restoration on Our A6M and if so how much would it cost