by Chuck Cravens
 She’s looking more like a flyable Mustang every day.
Update
Some skins and systems are in process this month and are nearing completion.
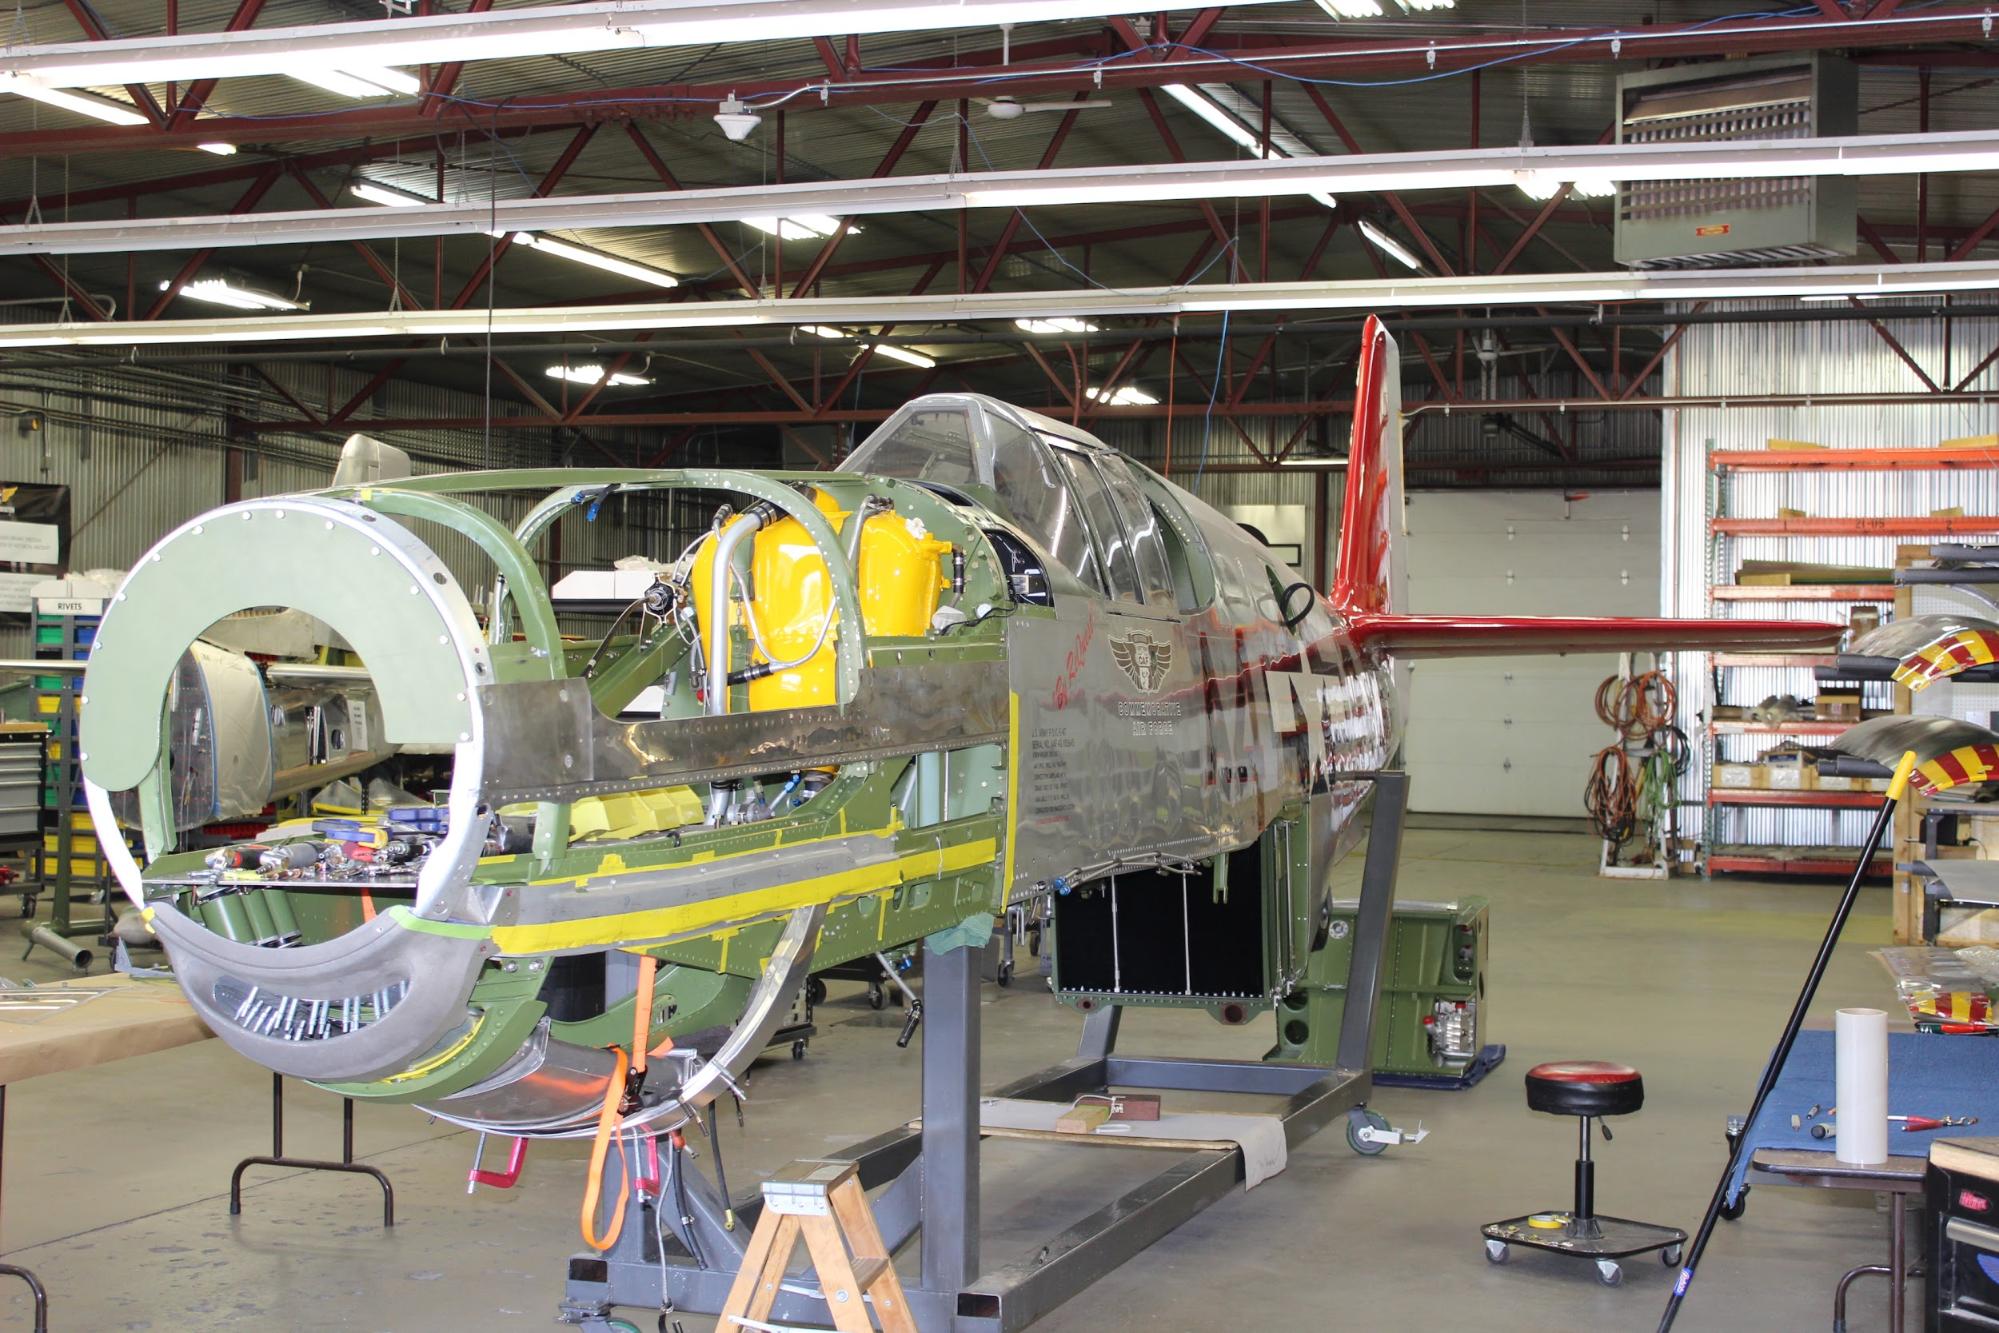
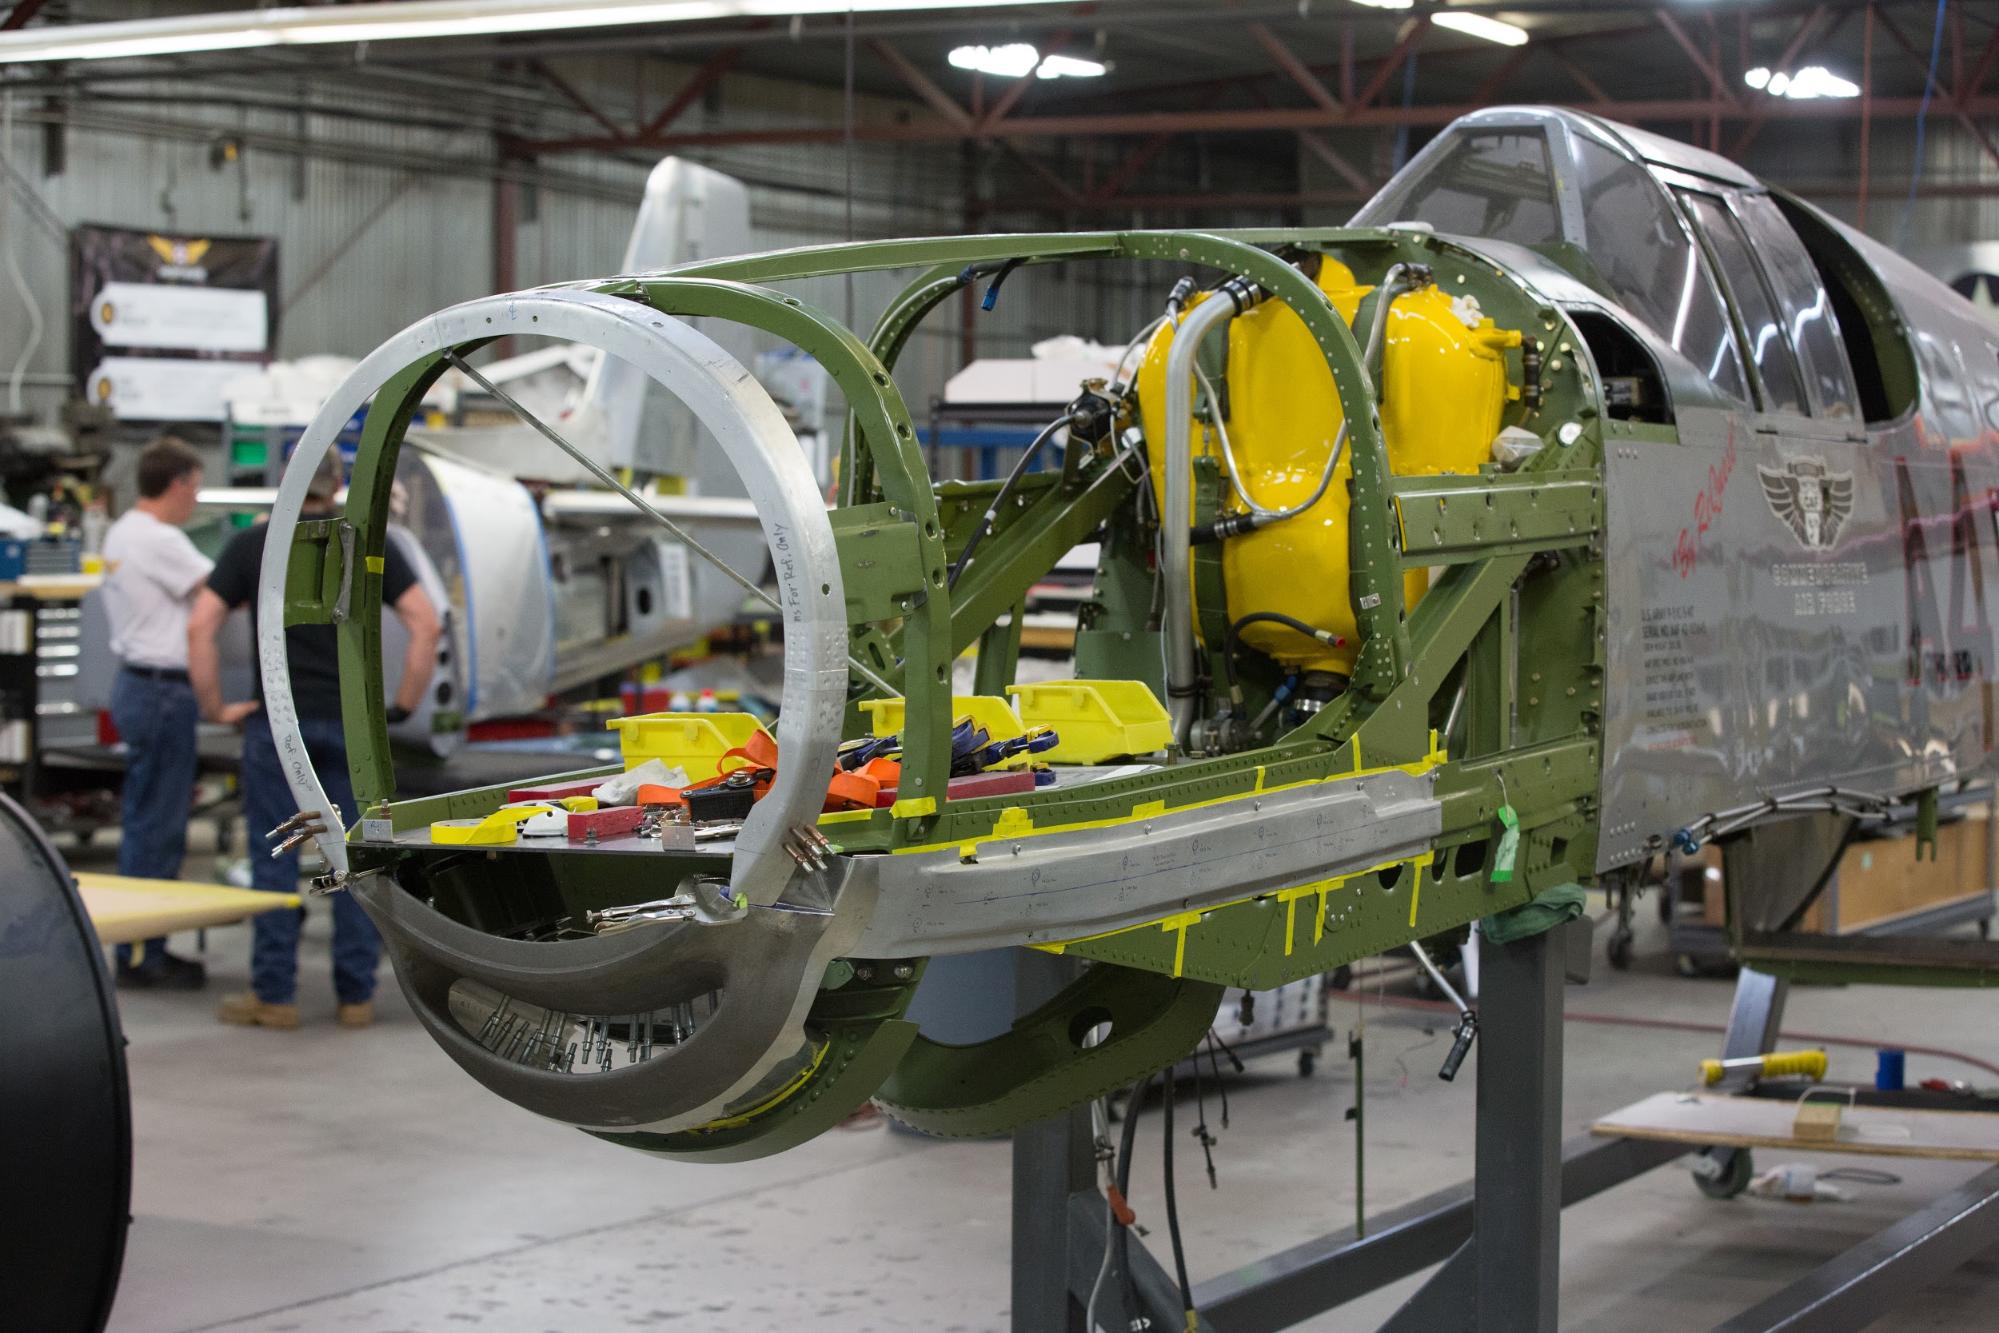 Firewall forward area before the skins are fitted shown here.
 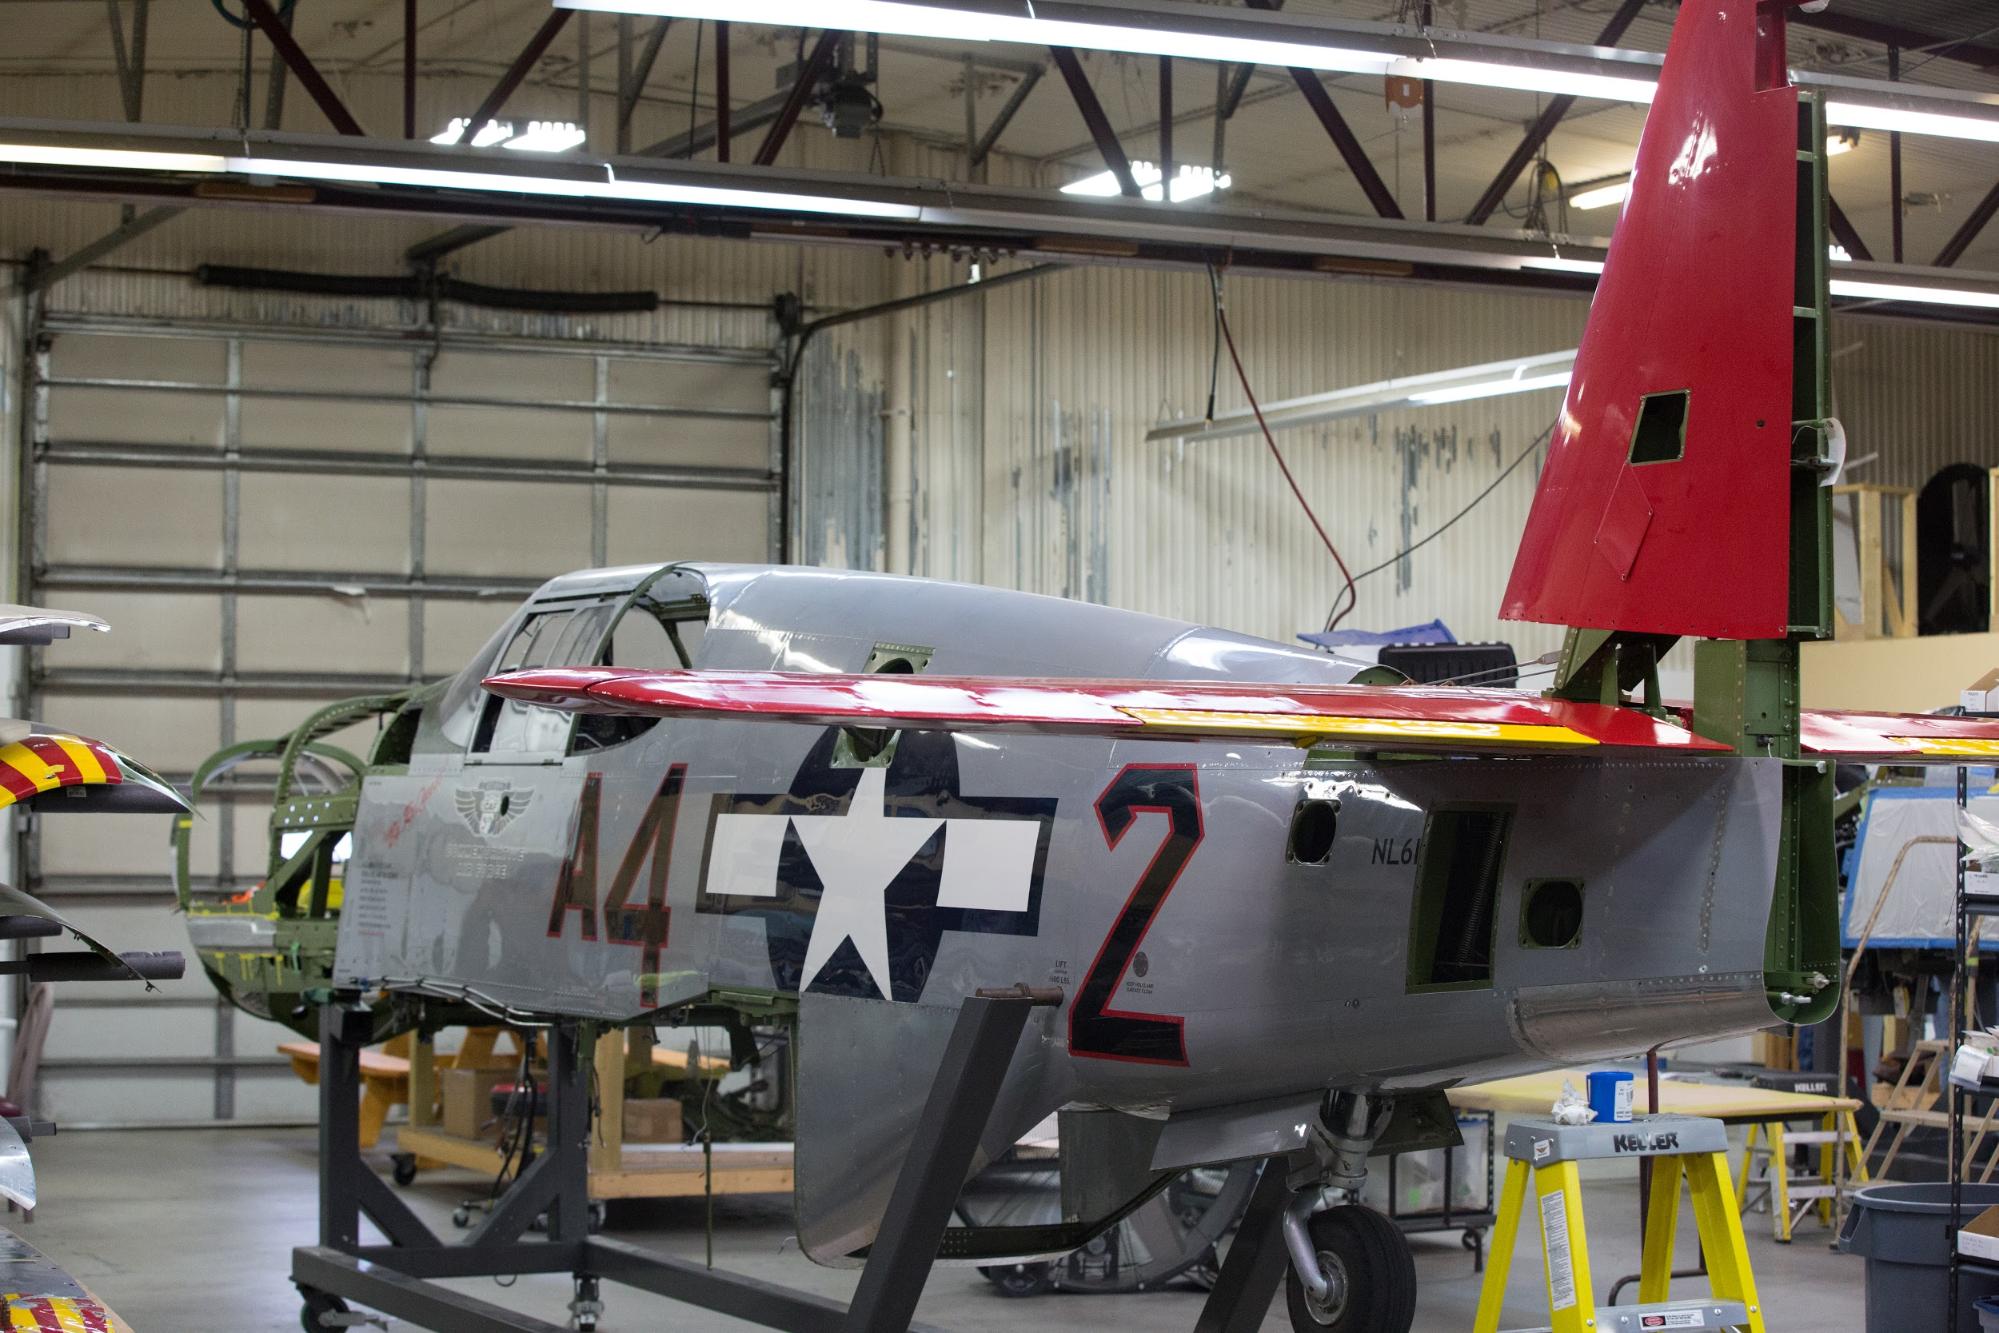 Rear angle view in this shot, she once again matches her name.
 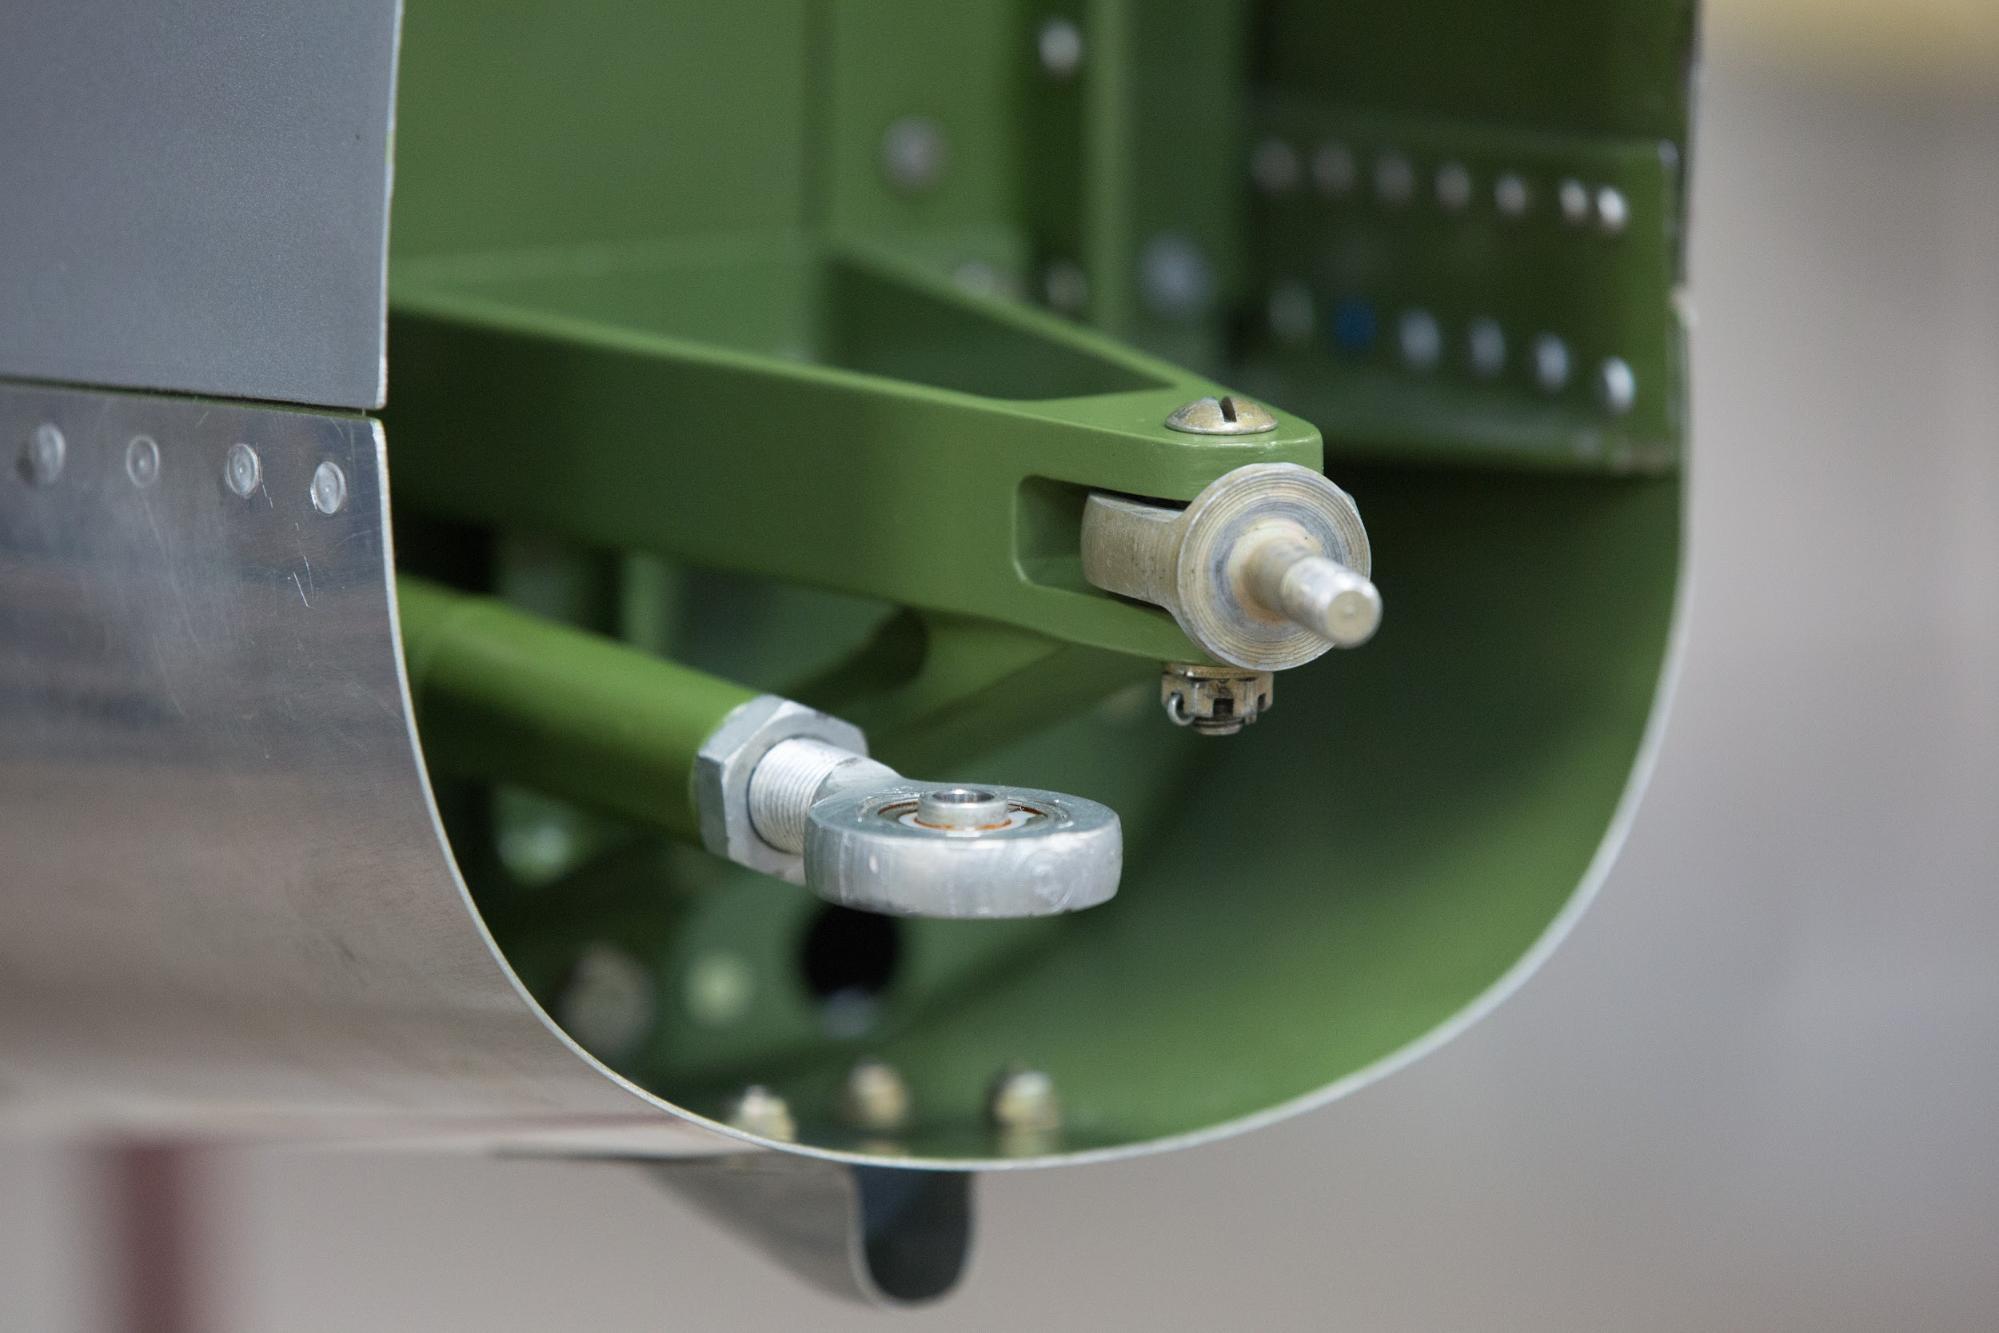 Rudder hinge and pushrod shown before the rudder was mounted.
 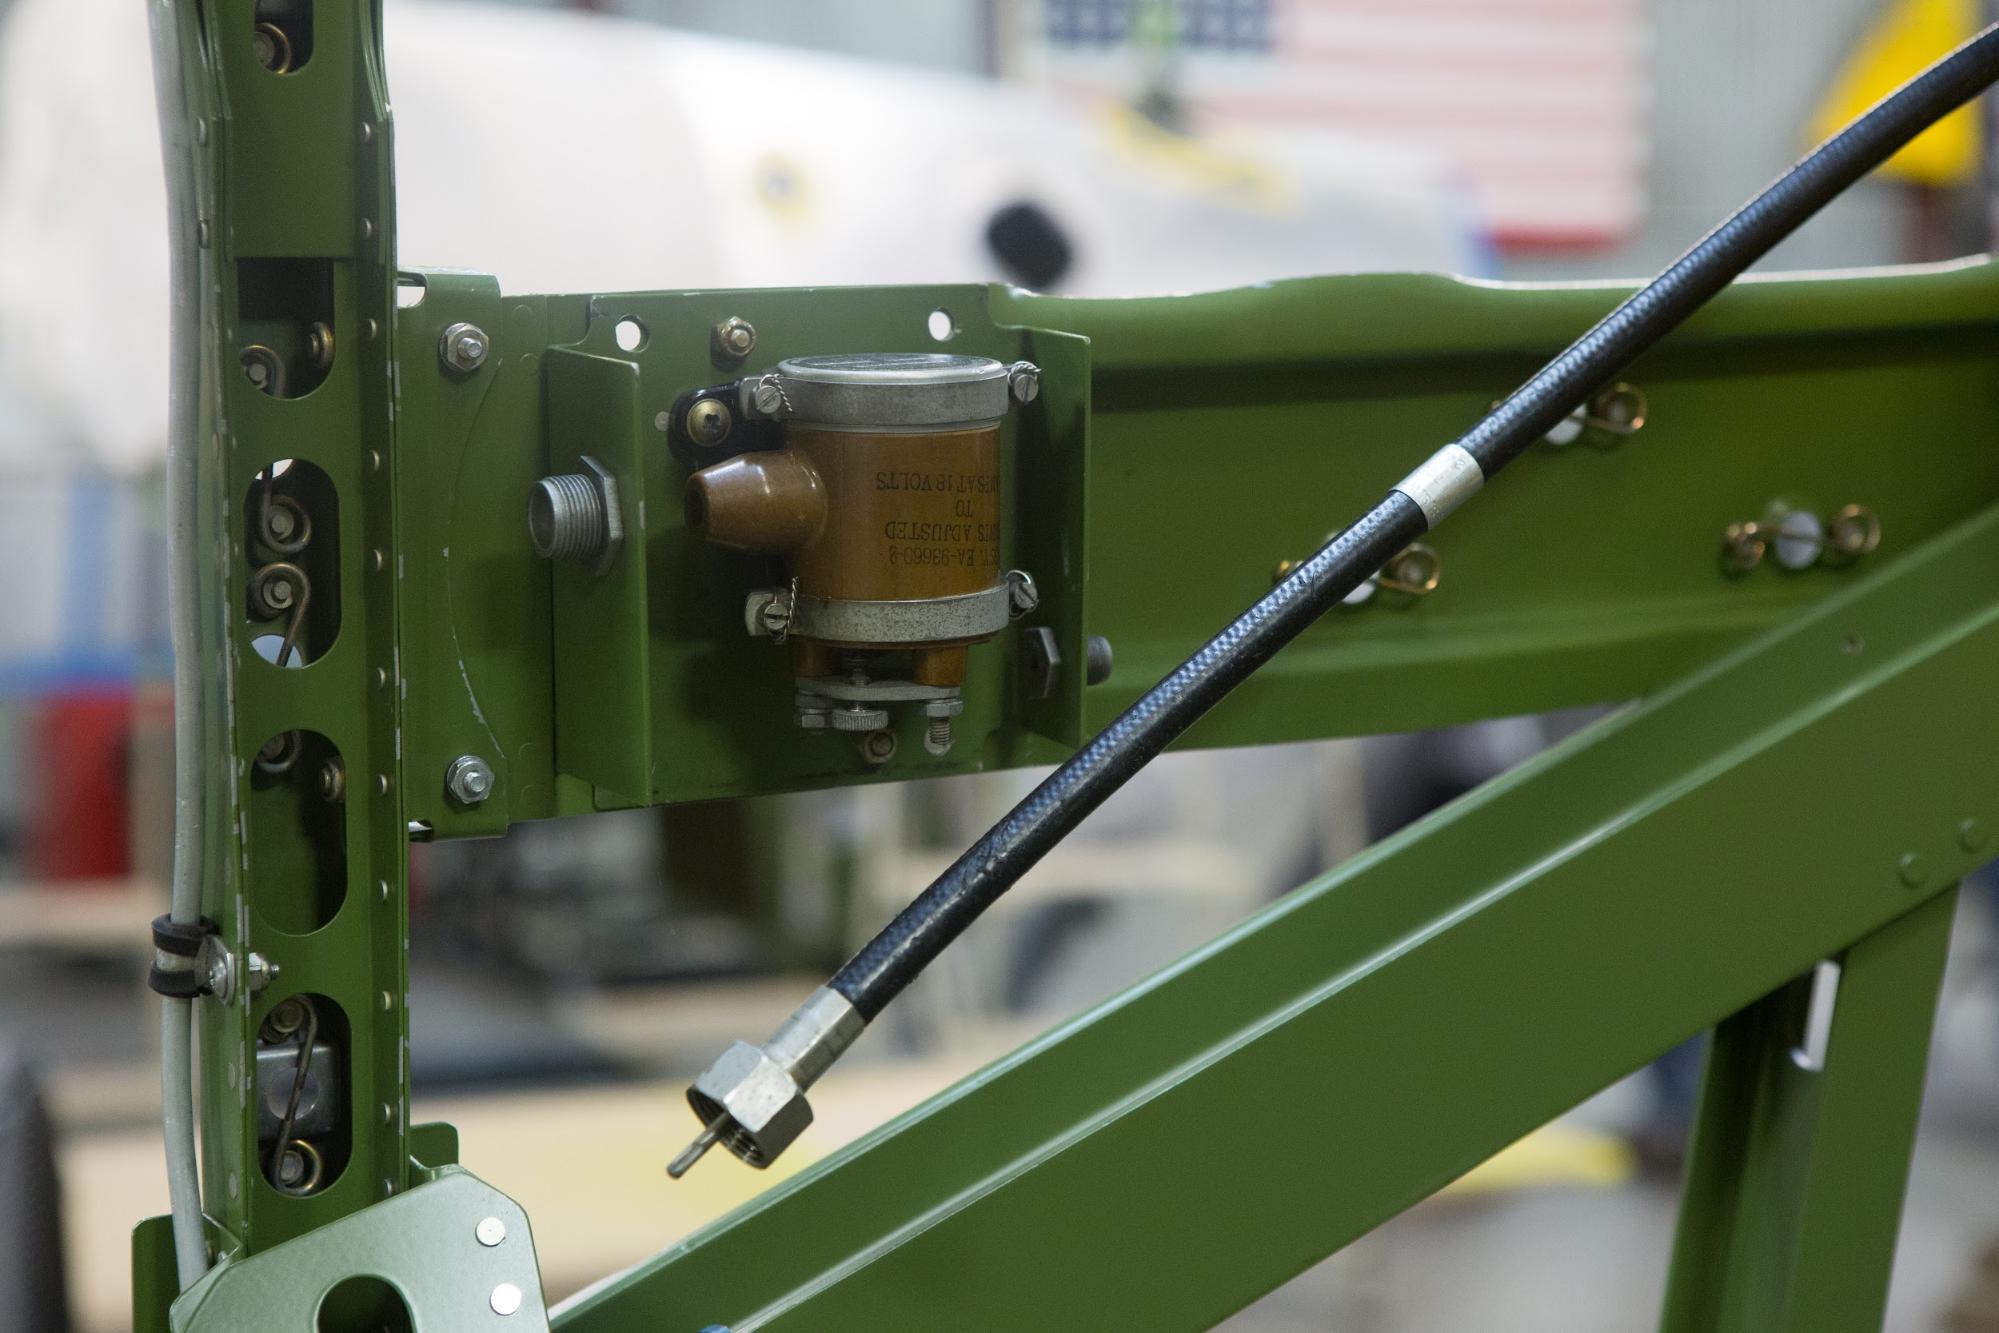 The brown colored “shower of sparks” or “buzz box” provides ignition spark to the magnetos when the engine is being started but not yet rotating fast enough for the magnetos to generate sufficient power to provide the spark on their own. The heavy black cable is the tach drive cable.
 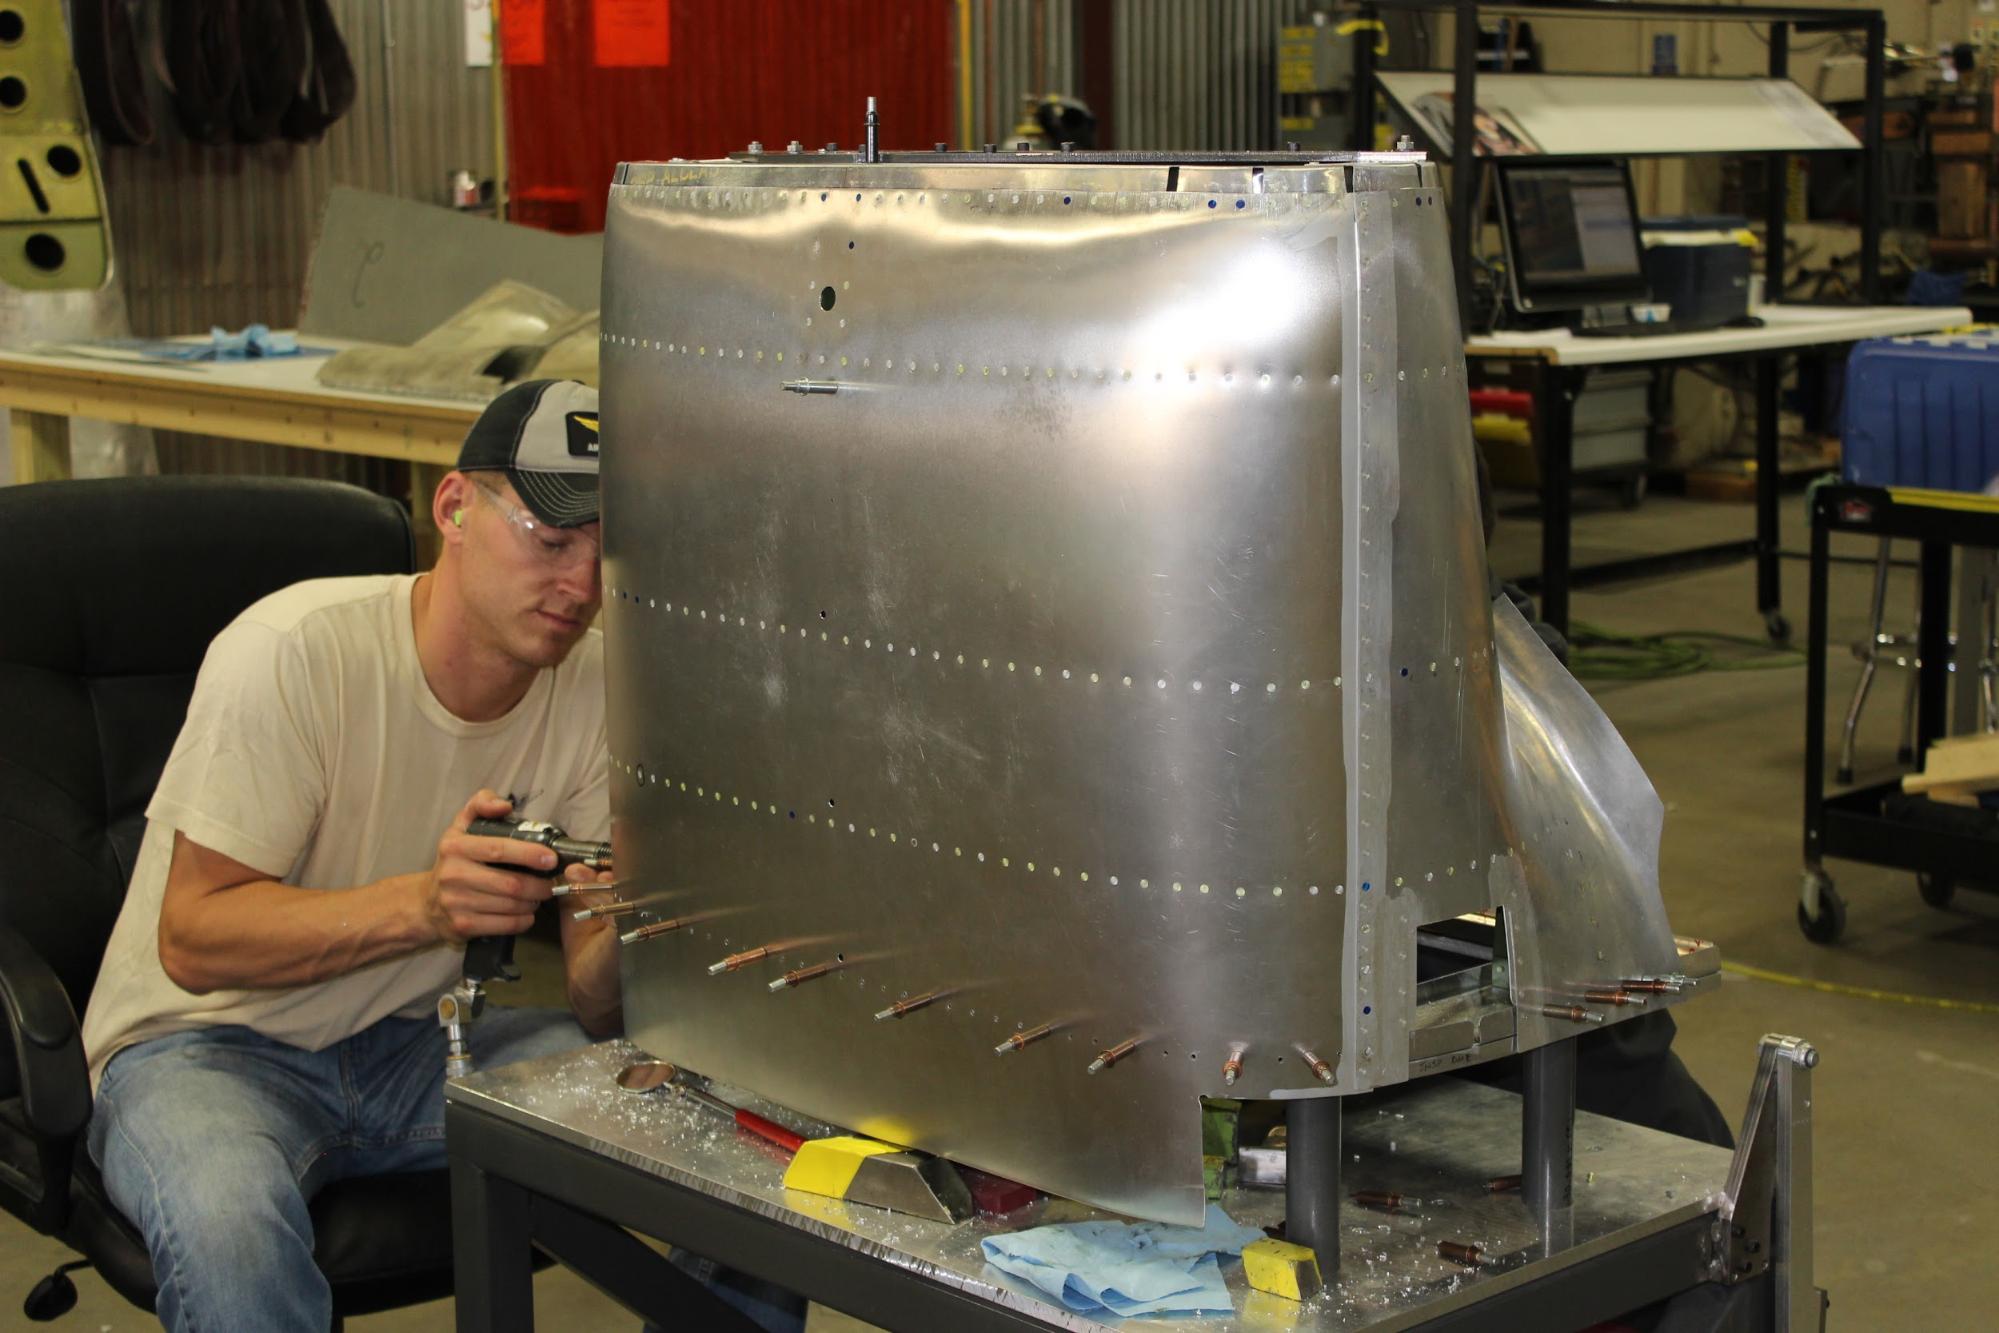 Chad works on the scoop for the Red Tail.
 Chad works on the scoop for the Red Tail.
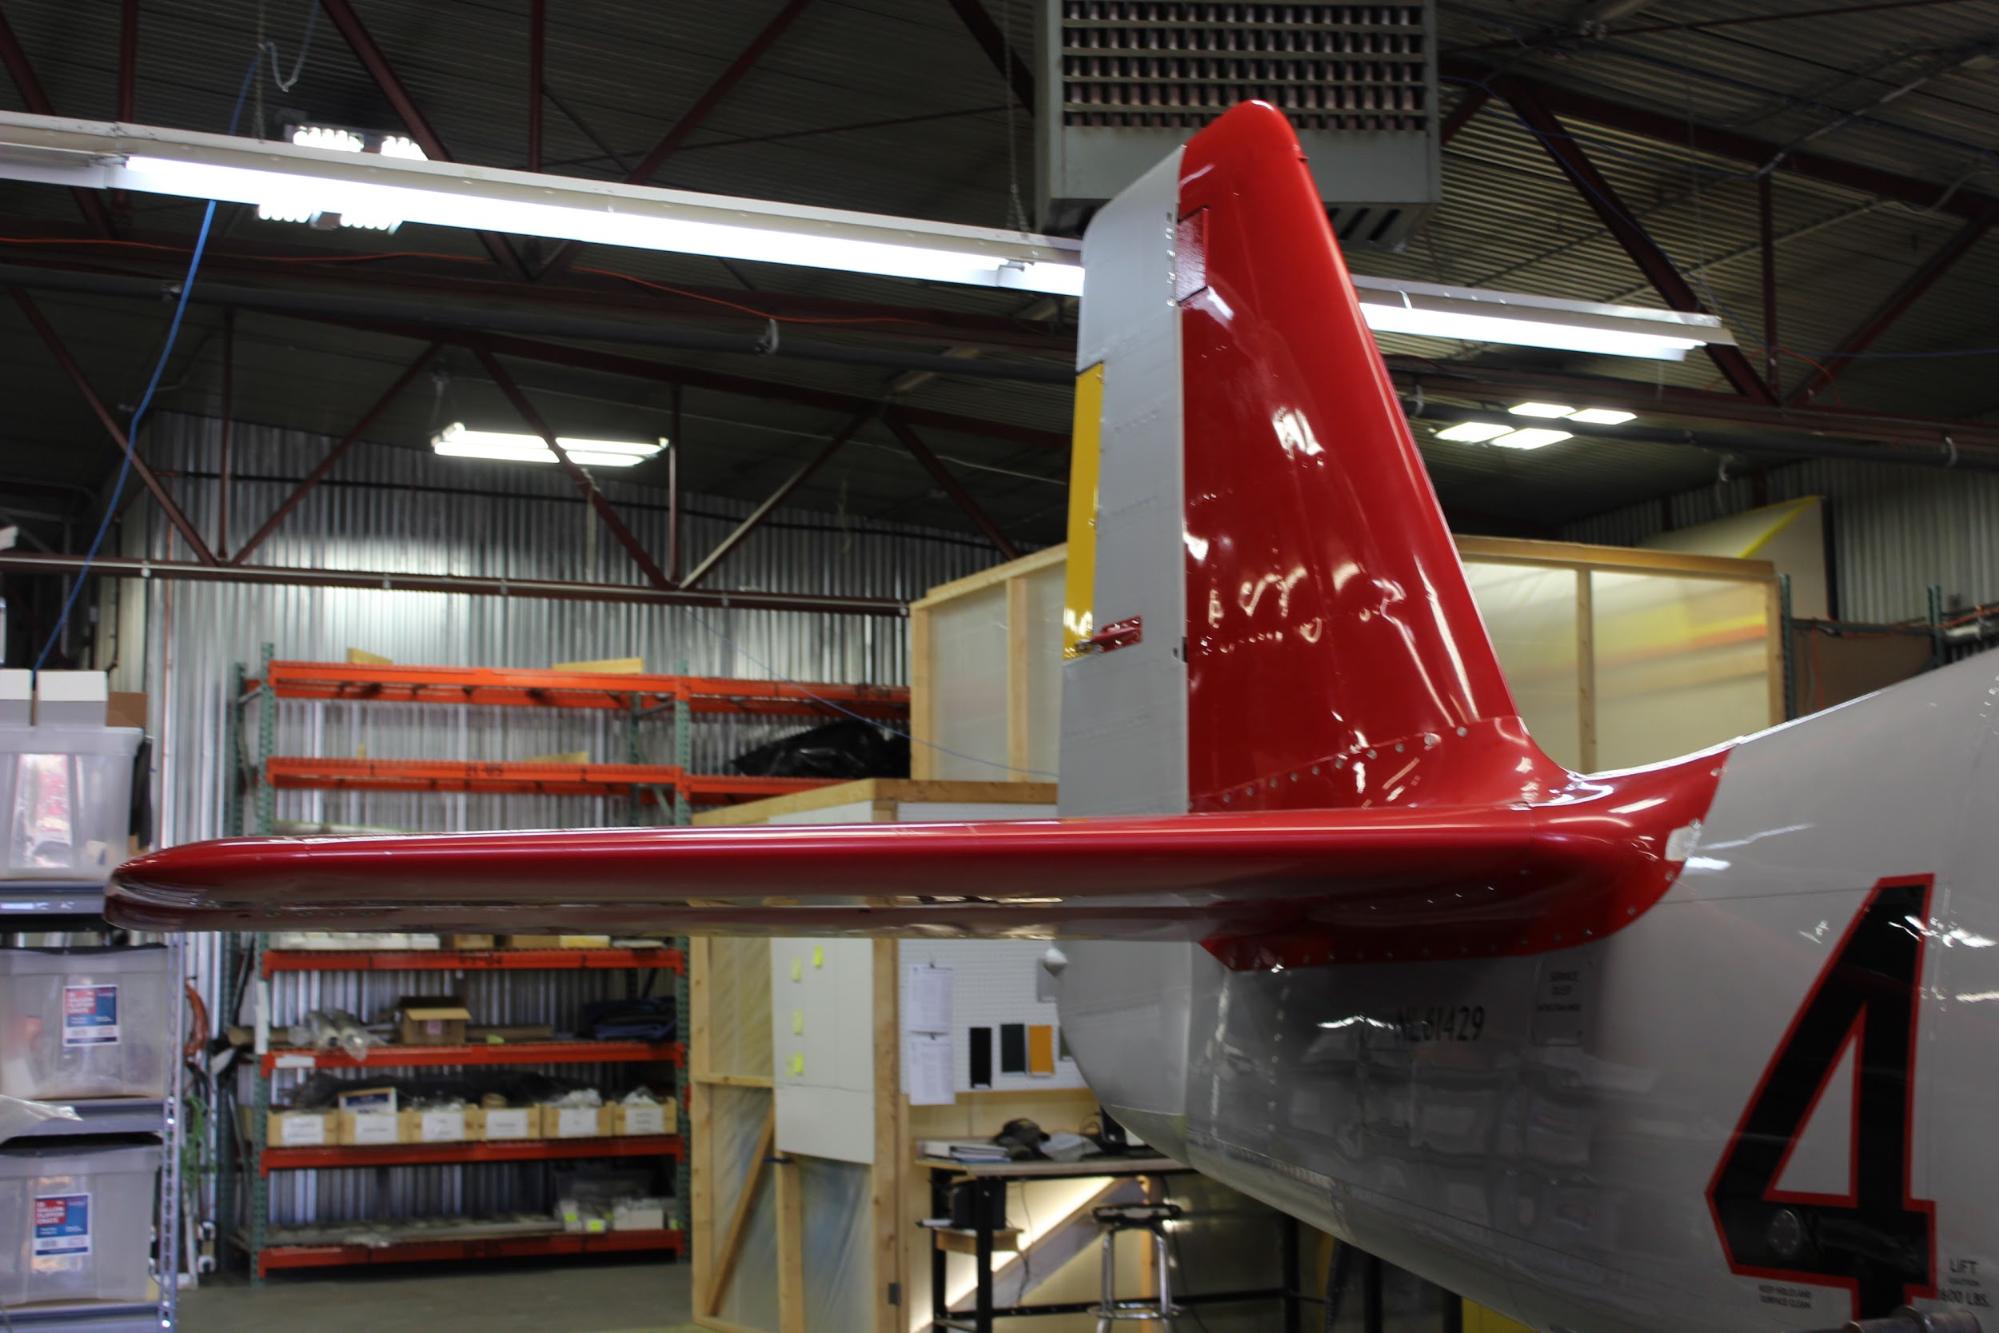 The signature red empennage, lacking only paint on the rudder. The whole airframe will be repainted in any case.
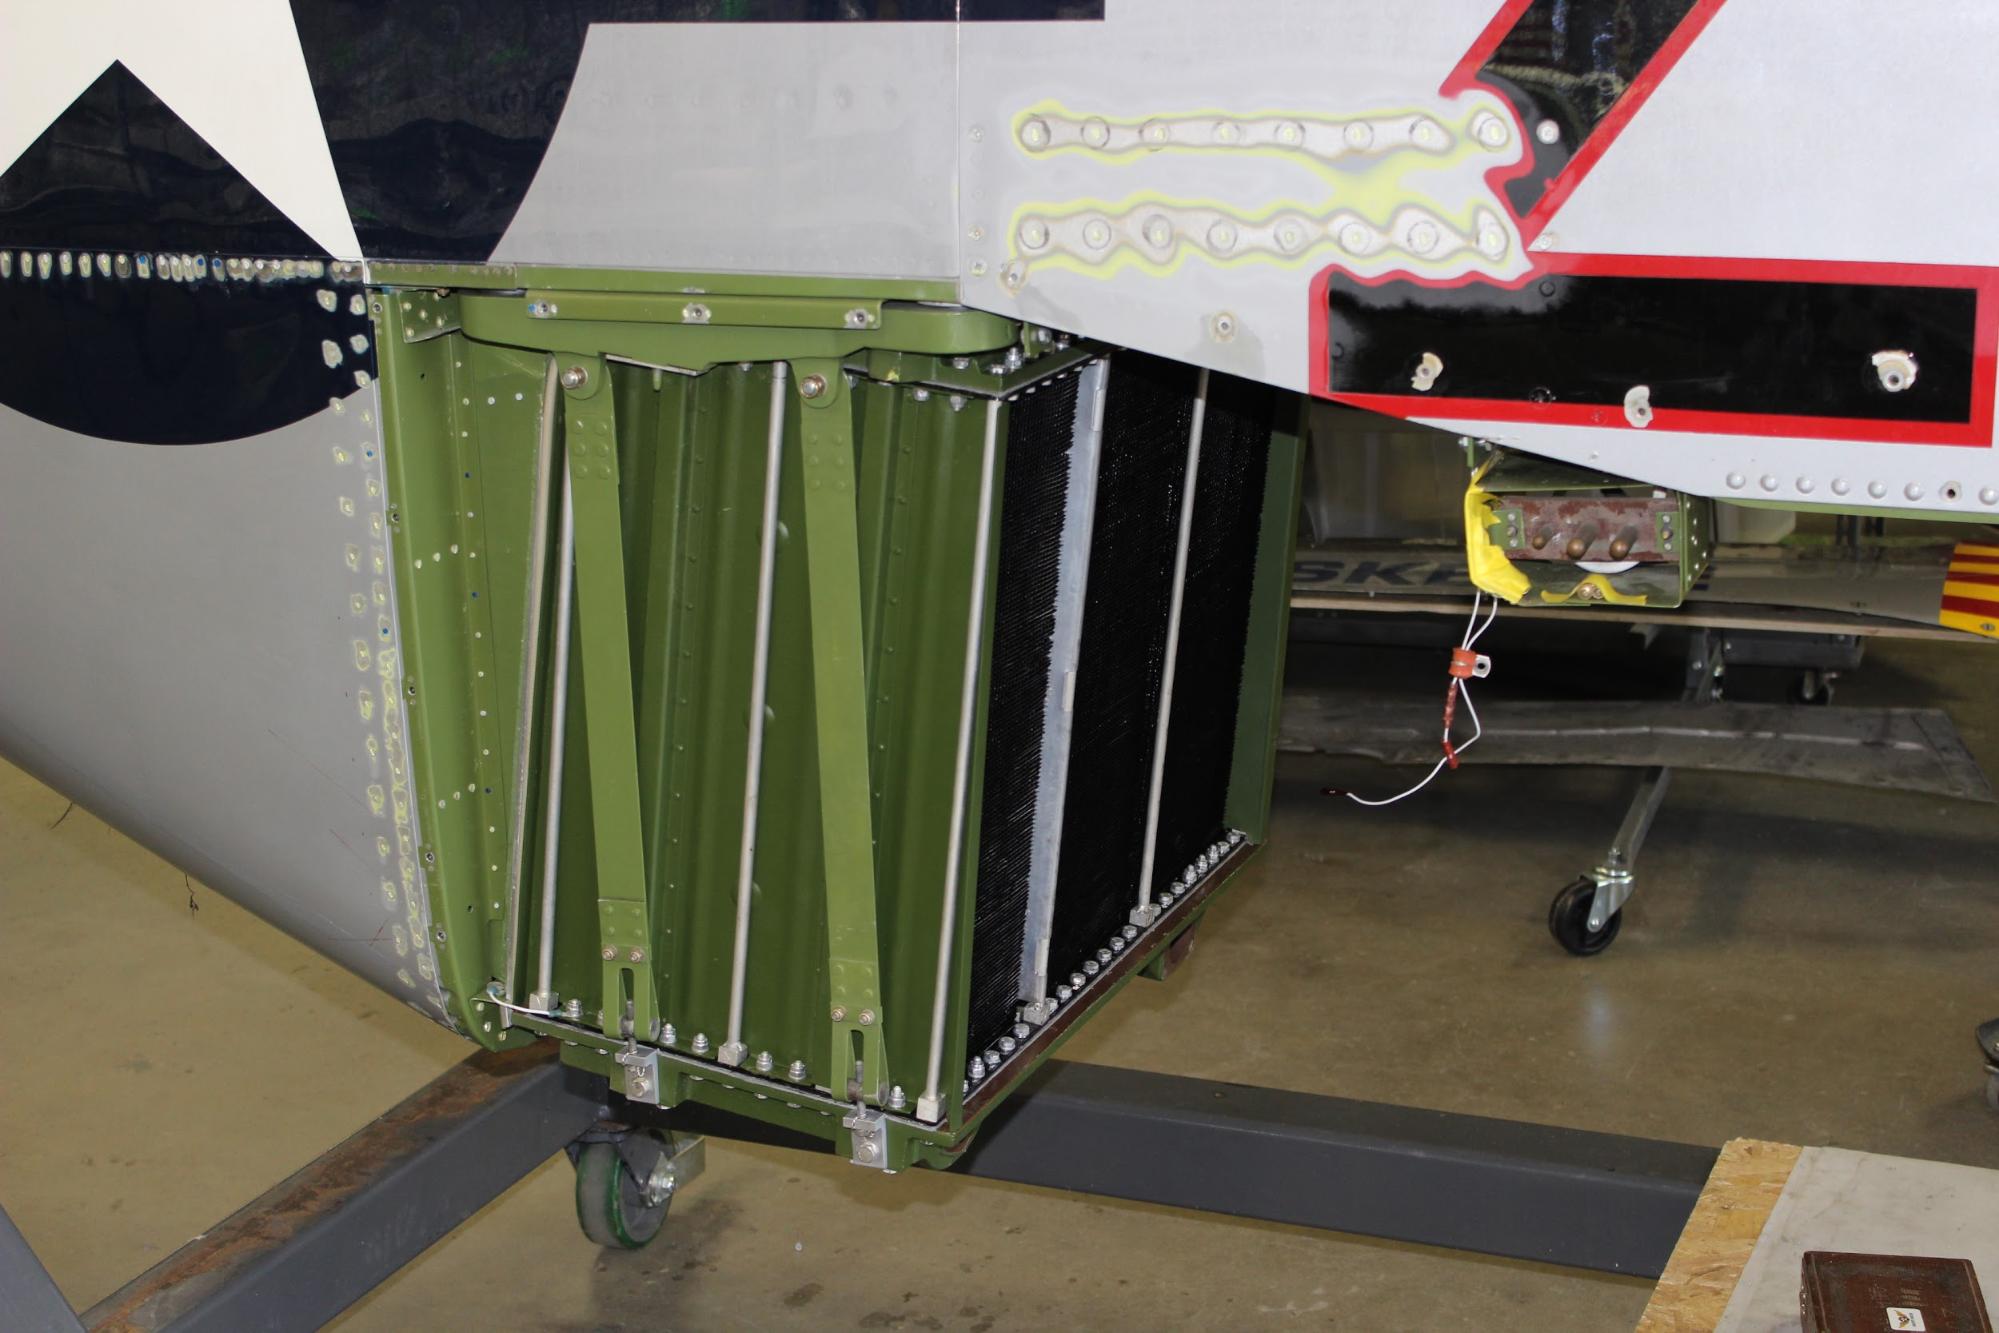
 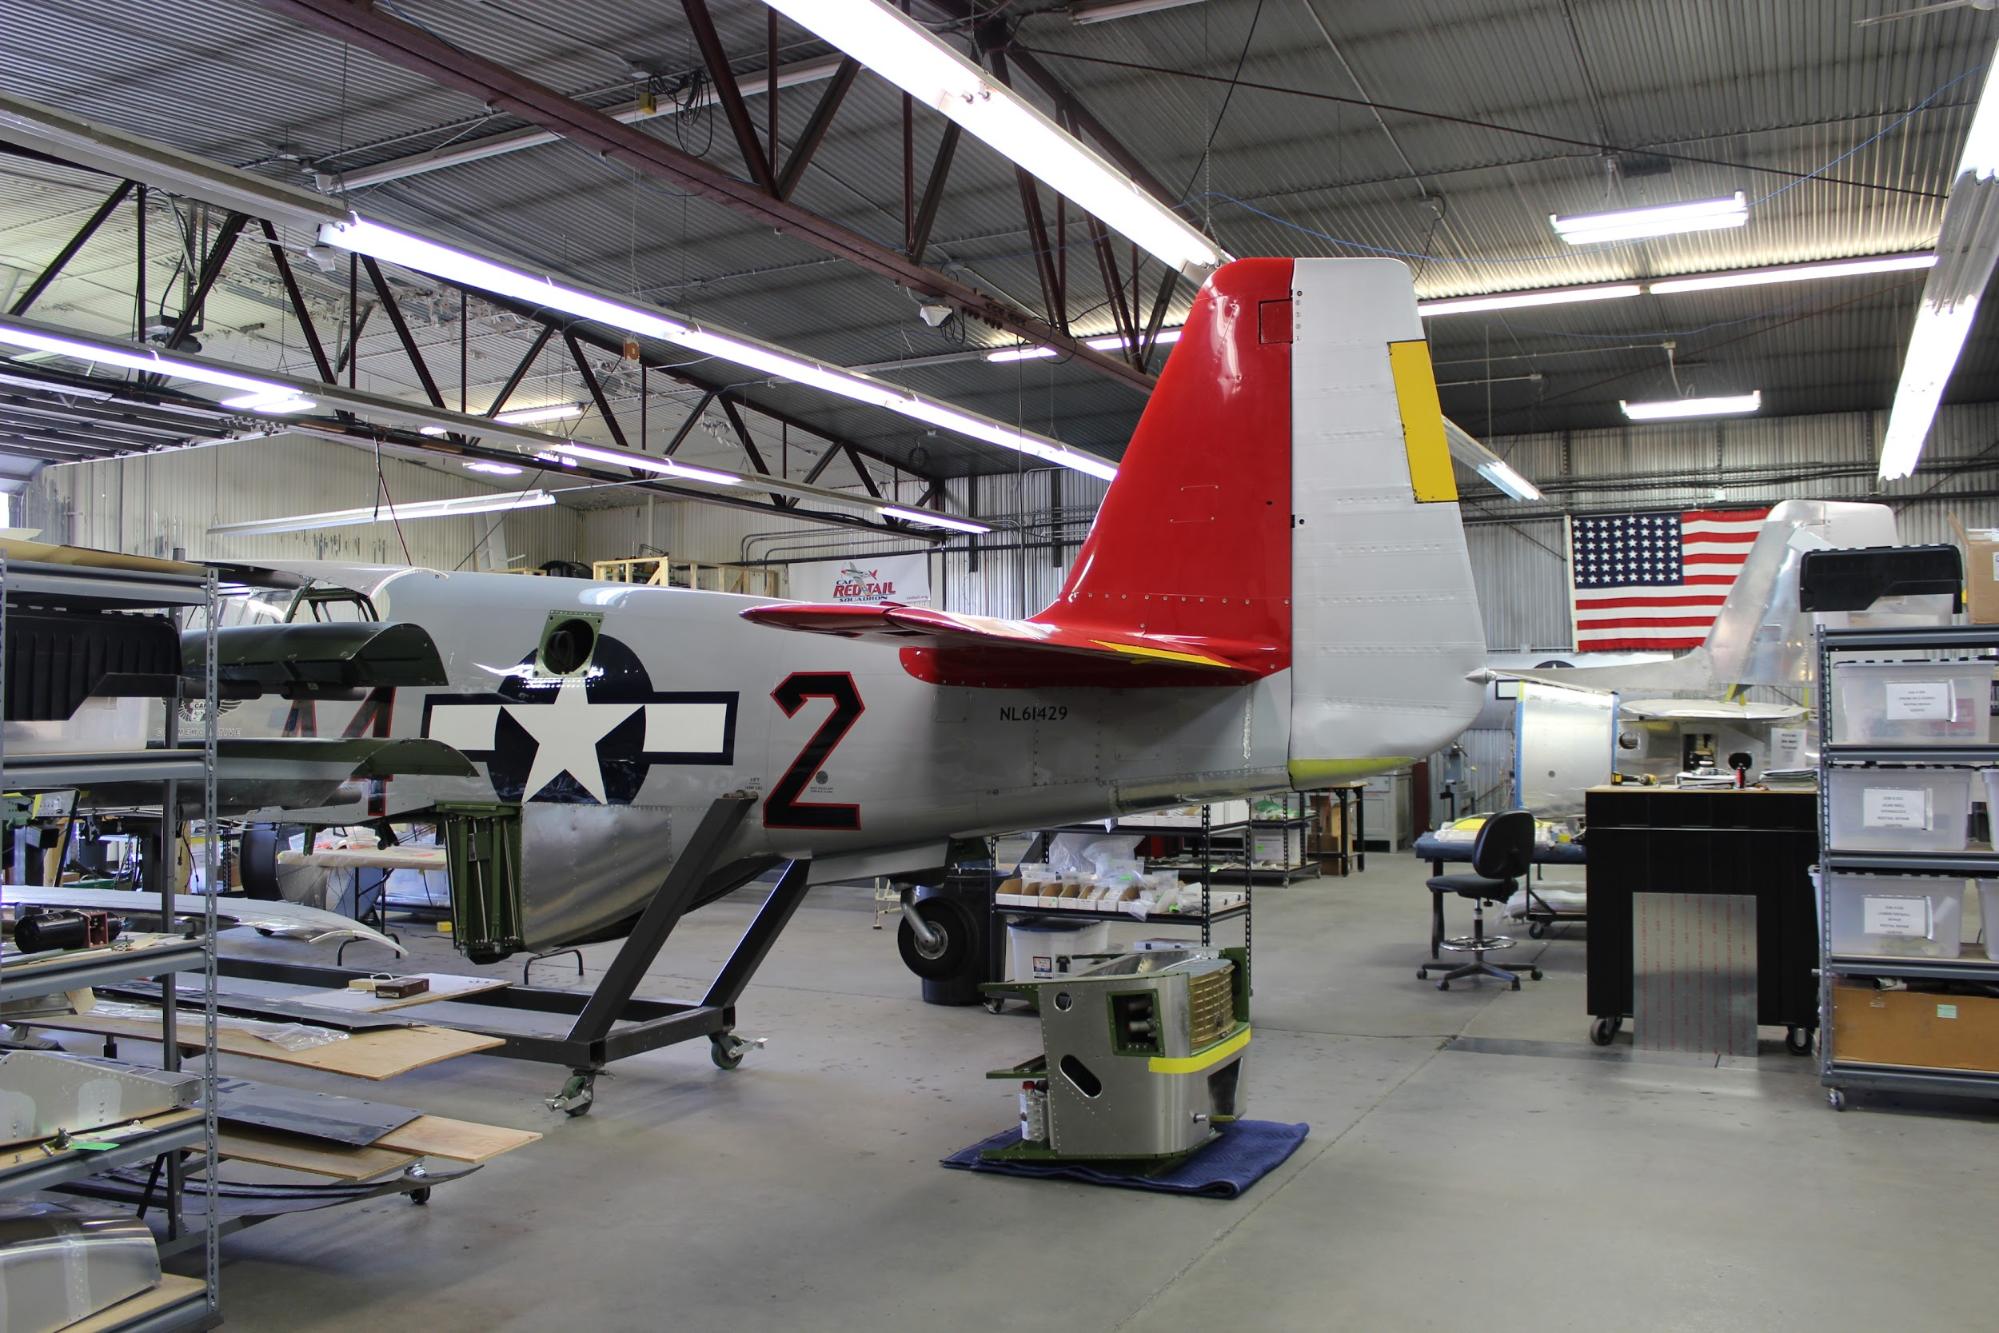 Here is an opposite side view of the red tail feathers. In this shot, the finished dog house sits on the floor under the tail. It awaits final fitting of the holes that connect it to the scoop. Once that fitting is complete, the dog house and scoop go on permanently.
Cowling Skins
 Stainless side section is installed.
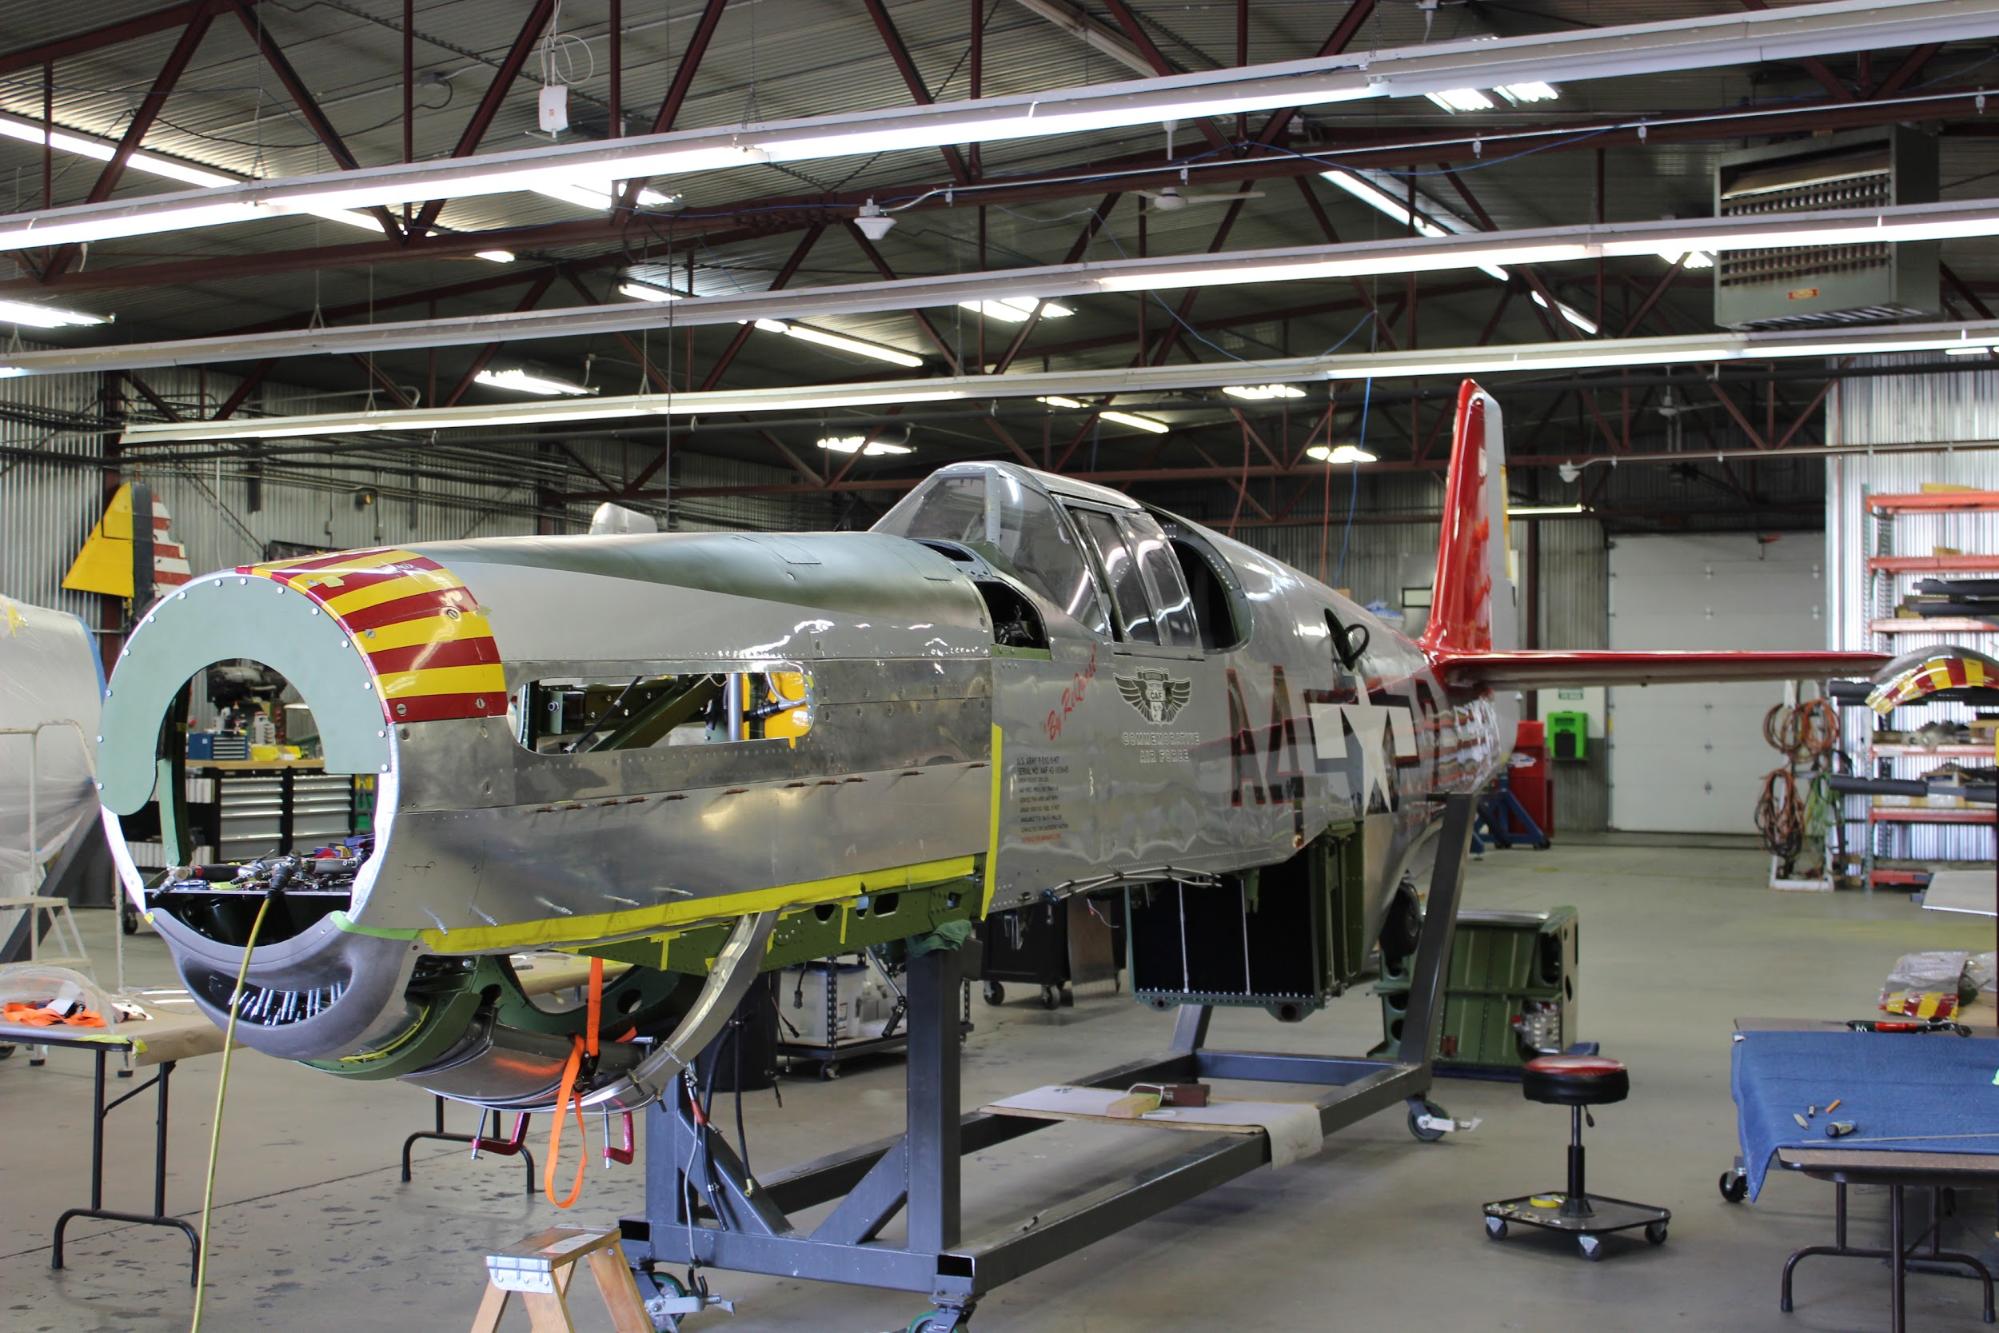 Next the upper skins and side skins went on.
 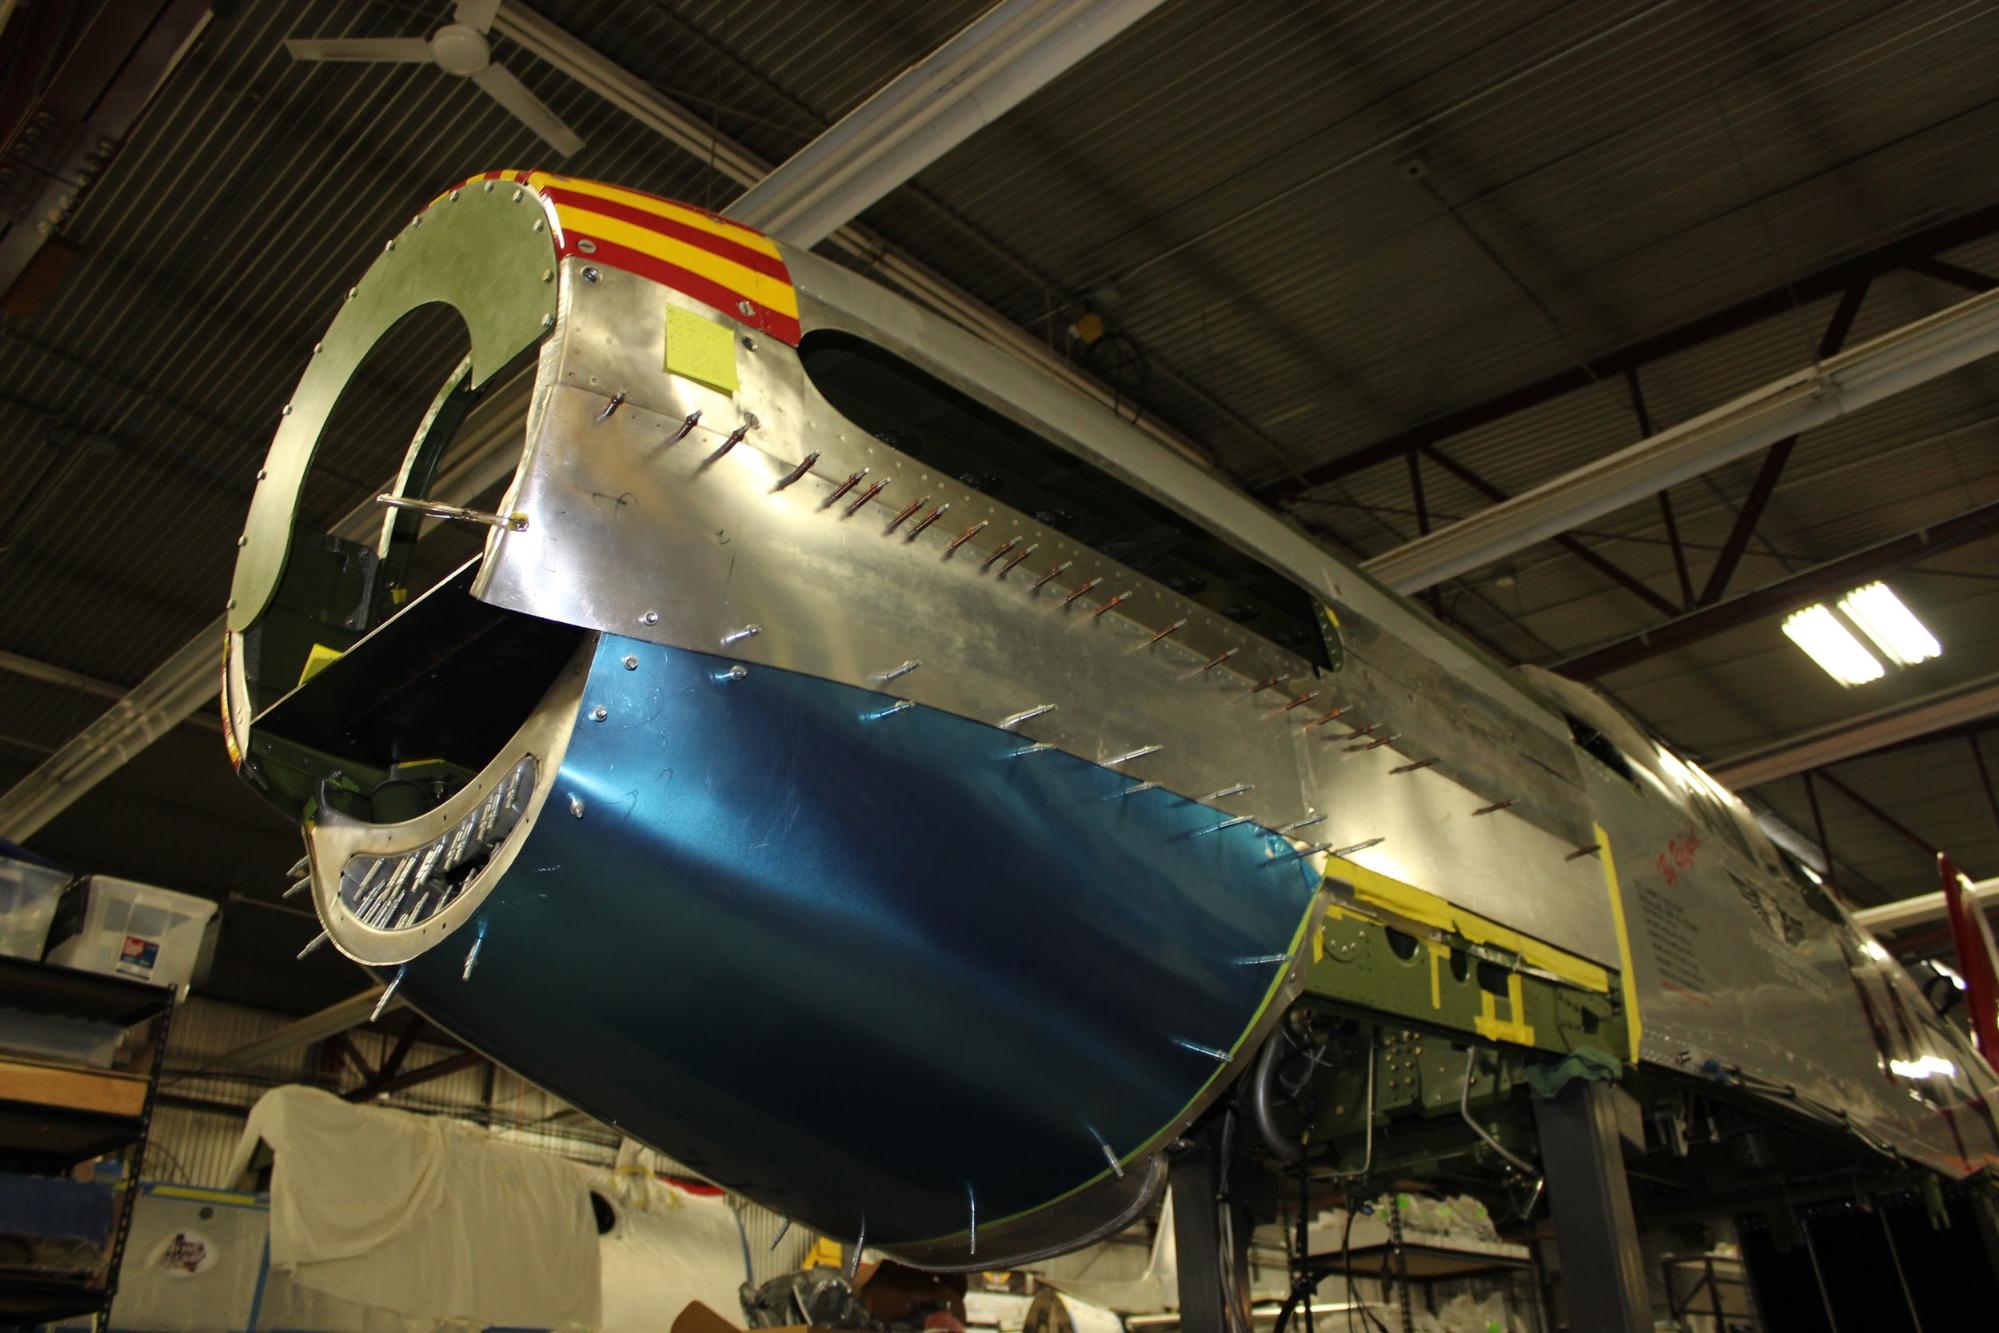 The lower cowl skin piece is in place during the fitting process.
 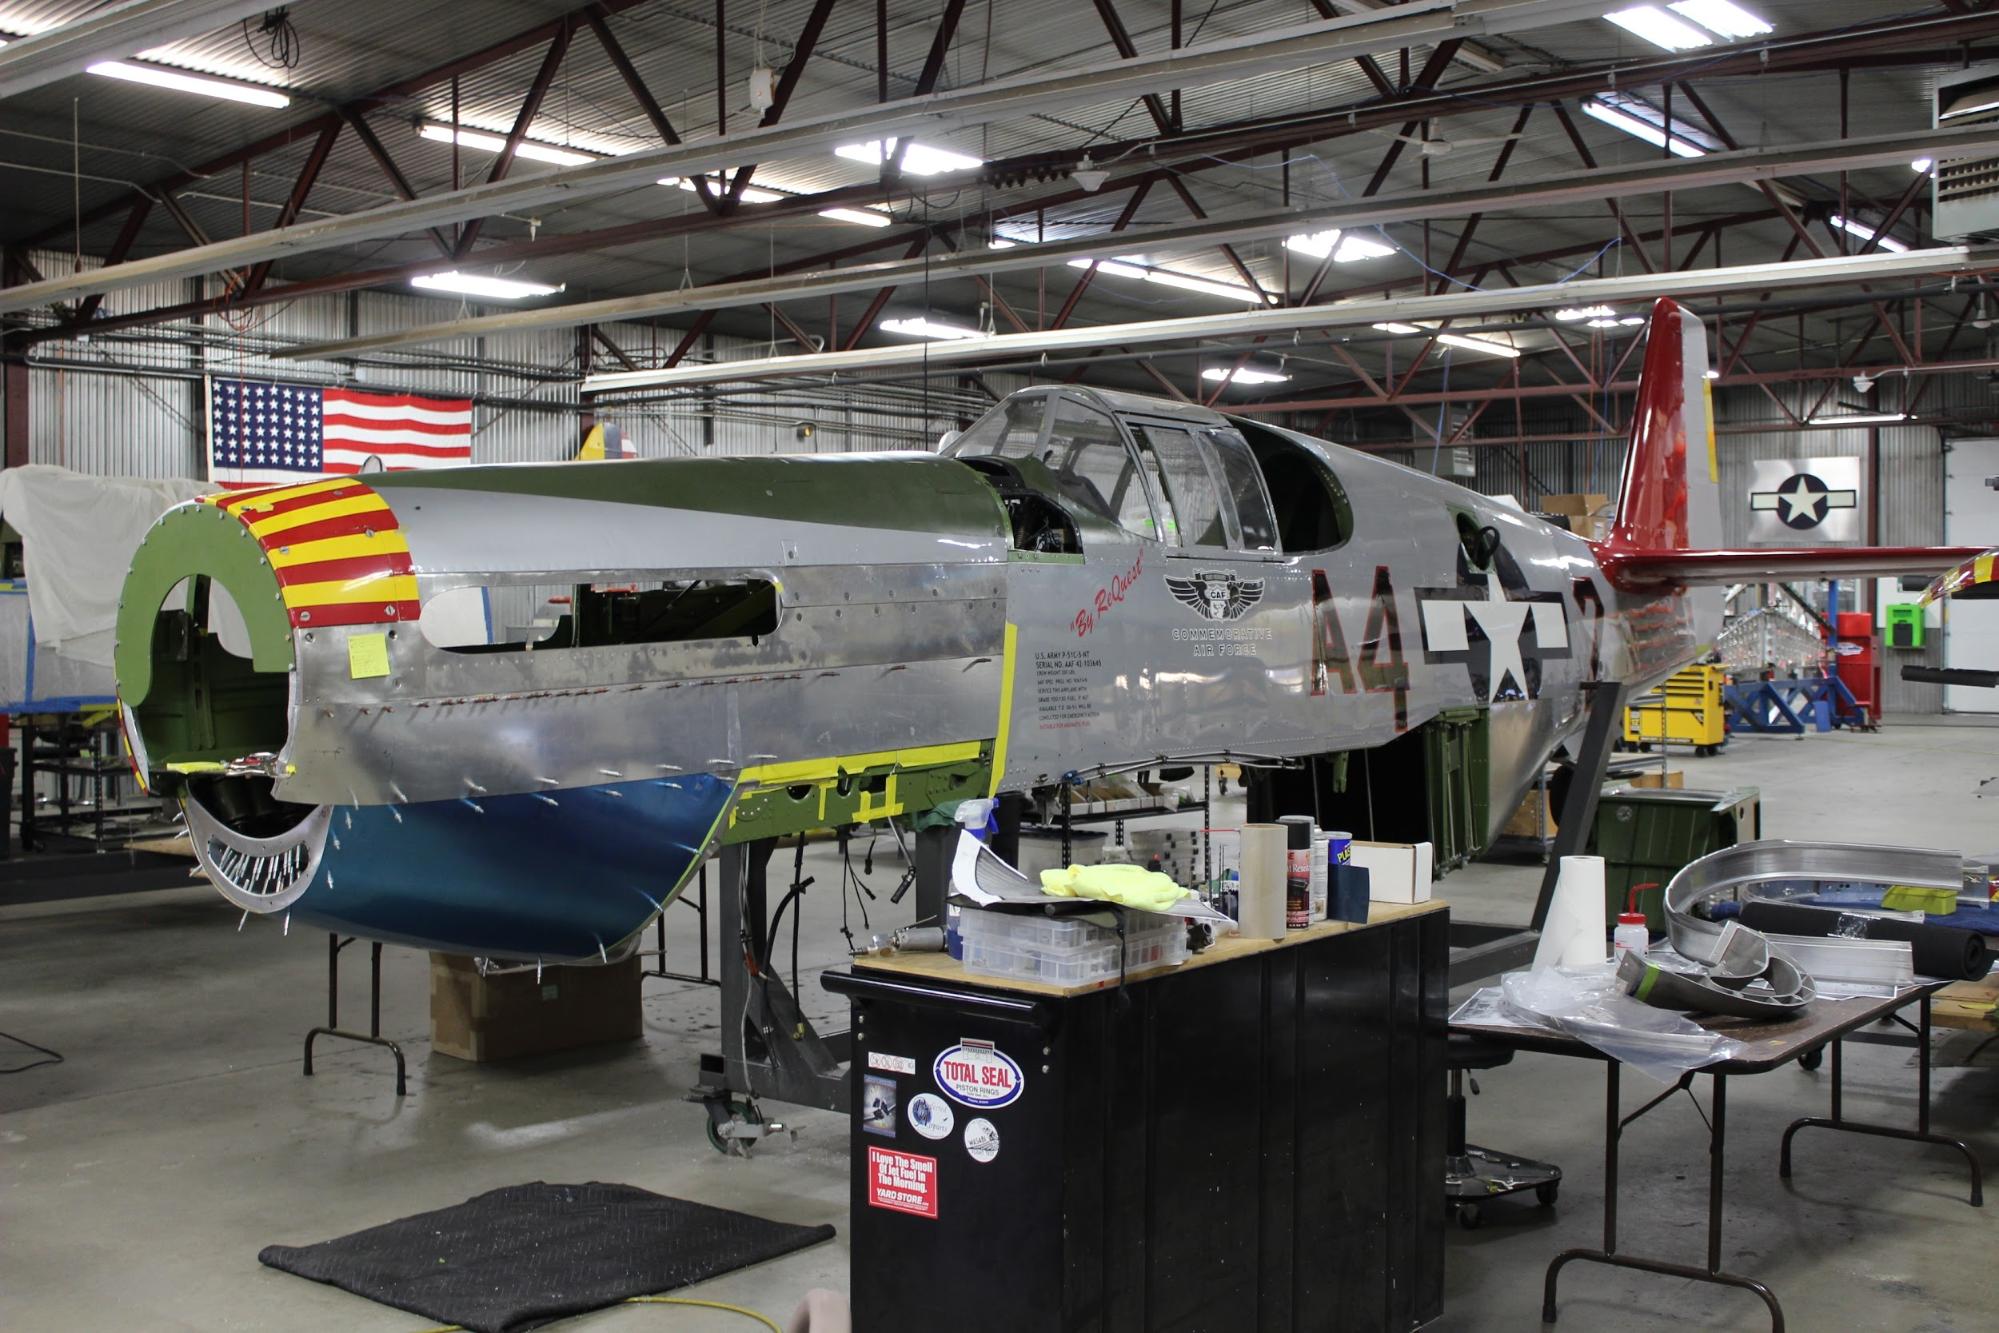 Finally a view of the Red Tail with all the cowl skins that have been completed in place.
One more skin assembly section ahead of the firewall remains.
It’s the three piece rear lower cowl section. This is one of the differences between B/C model P-51s and the D models. On the D, the same lower rear cowl section is all one piece.
Latest word is that we will be receiving the Merlin from Roush right after it has been test run. It has been repaired and is ready to run, so that shouldn’t be long in coming.
When that happens, we will remove these cowl pieces prior to installing the V-1650. We should receive the Packard-Merlin in the coming month.